Edraw.AI User Guides
Edraw.AI User Guides
-
Getting Started
-
Diagram from Scratch
-
Files Operation
-
Shapes Operation
-
Import Data to Make a Chart
-
Format and Style
-
Insert Object
-
View the Diagram
-
-
Mind Map from Scratch
-
Insert Objects
-
Topics Operation
-
Files Operations
-
View a Mind Map
-
Outline Mode
-
Theme and Style
-
-
Create with Templates
-
Create with AI
-
AI Image Tools
-
AI Diagram
-
AI File Analysis
- AI Chat
- AI OCR
- AI Flowchart
- AI Mind Map
- AI Drawing
-
-
Project Management
Adding Timelines to Diagrams
Edraw.AI helps you show events in chronological order through timelines. It's great for project planning, historical overviews, or mapping out processes. You can customize the look of your timeline, add key dates and descriptions, and adjust the scale to fit your needs. Timelines make it easy to visualize progress or understand the sequence of events.
To add timelines to your diagrams, follow the steps below:
Step ❶
Click Menu (icon with three horizontal lines) > Insert > Timeline.
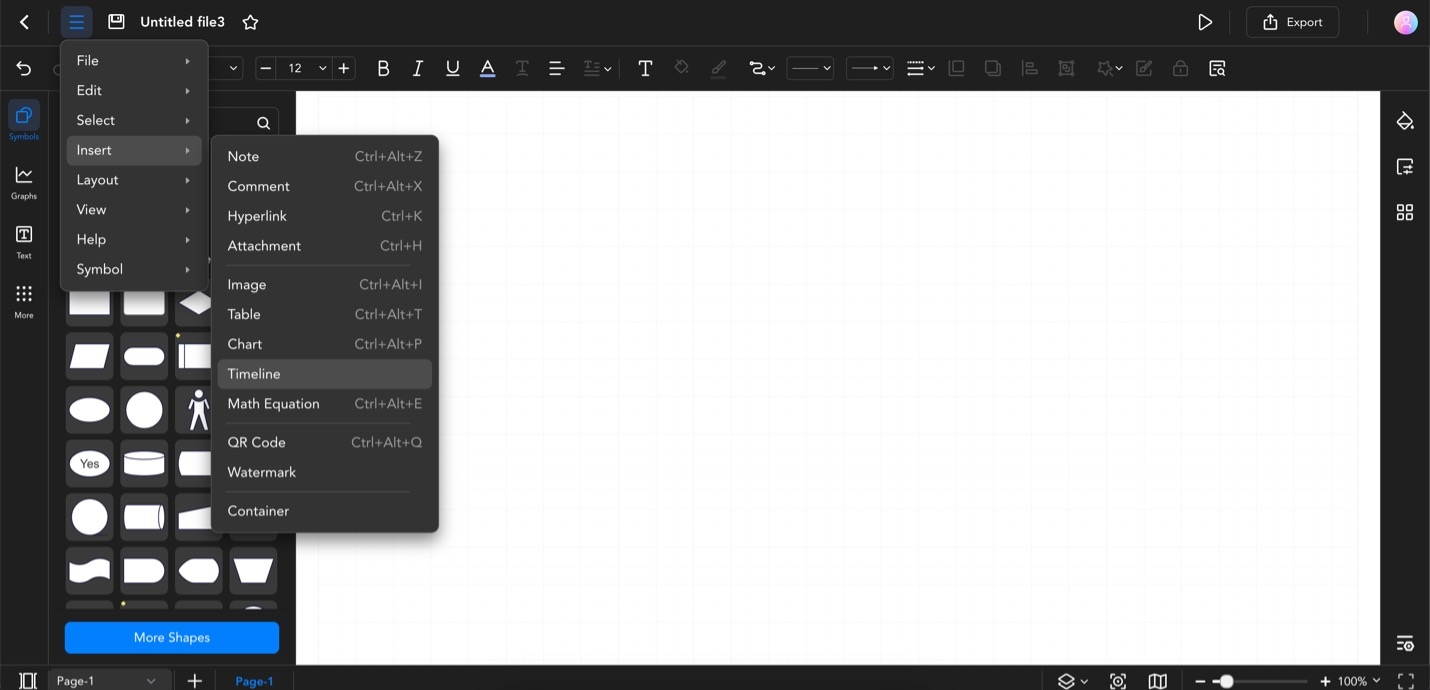
Click Menu > Insert > Timeline
Step ❷
Choose a timeline template that you want to use. Click Insert once done.
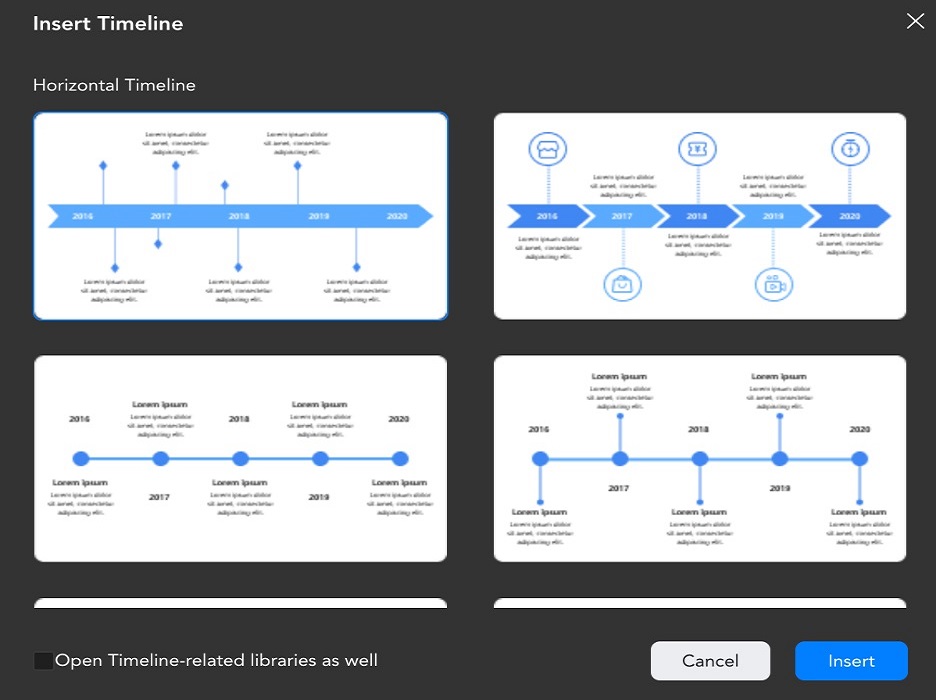
Select a Timeline Template and Click Insert
Step ❸
Add content to your timeline by double-clicking text elements. Customize as needed.
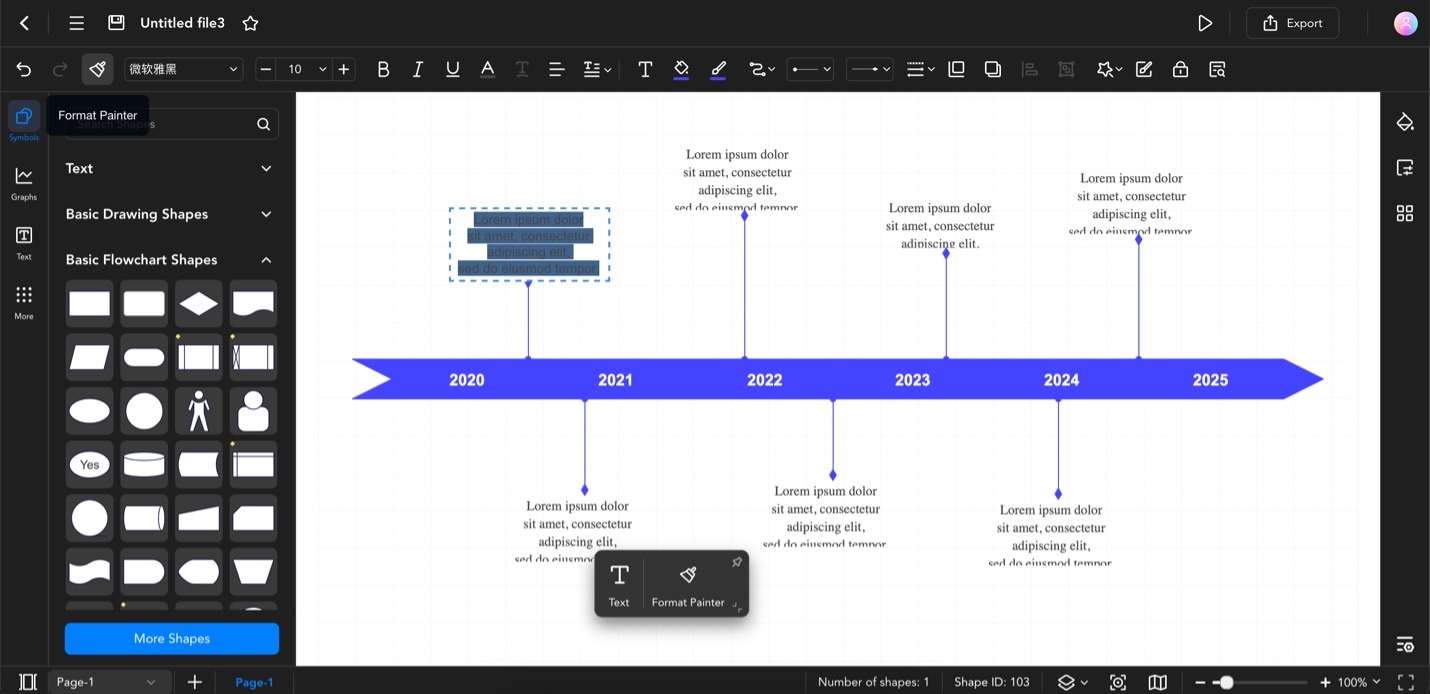
Double-Click Text Elements to Add and Customize Timeline Content