Edraw.AI User Guides
-
Getting Started
-
Diagram from Scratch
-
Files Operation
-
Shapes Operation
-
Import Data to Make a Chart
-
Format and Style
-
Insert Object
-
View the Diagram
-
-
Mind Map from Scratch
-
Insert Objects
-
Topics Operation
-
Files Operations
-
View a Mind Map
-
Outline Mode
-
Theme and Style
-
-
Create with Templates
-
Create with AI
-
AI Image Tools
-
AI Diagram
-
AI File Analysis
- AI Chat
- AI OCR
- AI Flowchart
- AI Mind Map
- AI Drawing
-
-
Project Management
Insert Tables in a Mind Map
Edraw.AI enables you to insert tables into your canvas, allowing you to organize and present data systematically. Tables are a great way to compare information, list details, or structure content within your projects. Here are 2 ways on how to insert tables in Edraw.AI:
Index
Way 1: Insert Tables To a Topic
Follow these steps to insert a table using the Table feature:
Step ❶
Select the topic where you want to insert a table. Then, click Insert > Table in the top panel.

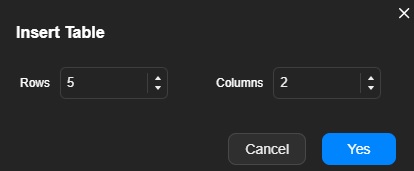
Step ❷
In the dialogue box, specify the number of rows and columns you want in your table. Once you’ve set the table size, insert the table into the selected topic.
Way 2: Use the Table Button
For a quick method of adding tables, follow the steps:
Step ❶
Click Insert > Table. Specify the rows and columns and click Yes.
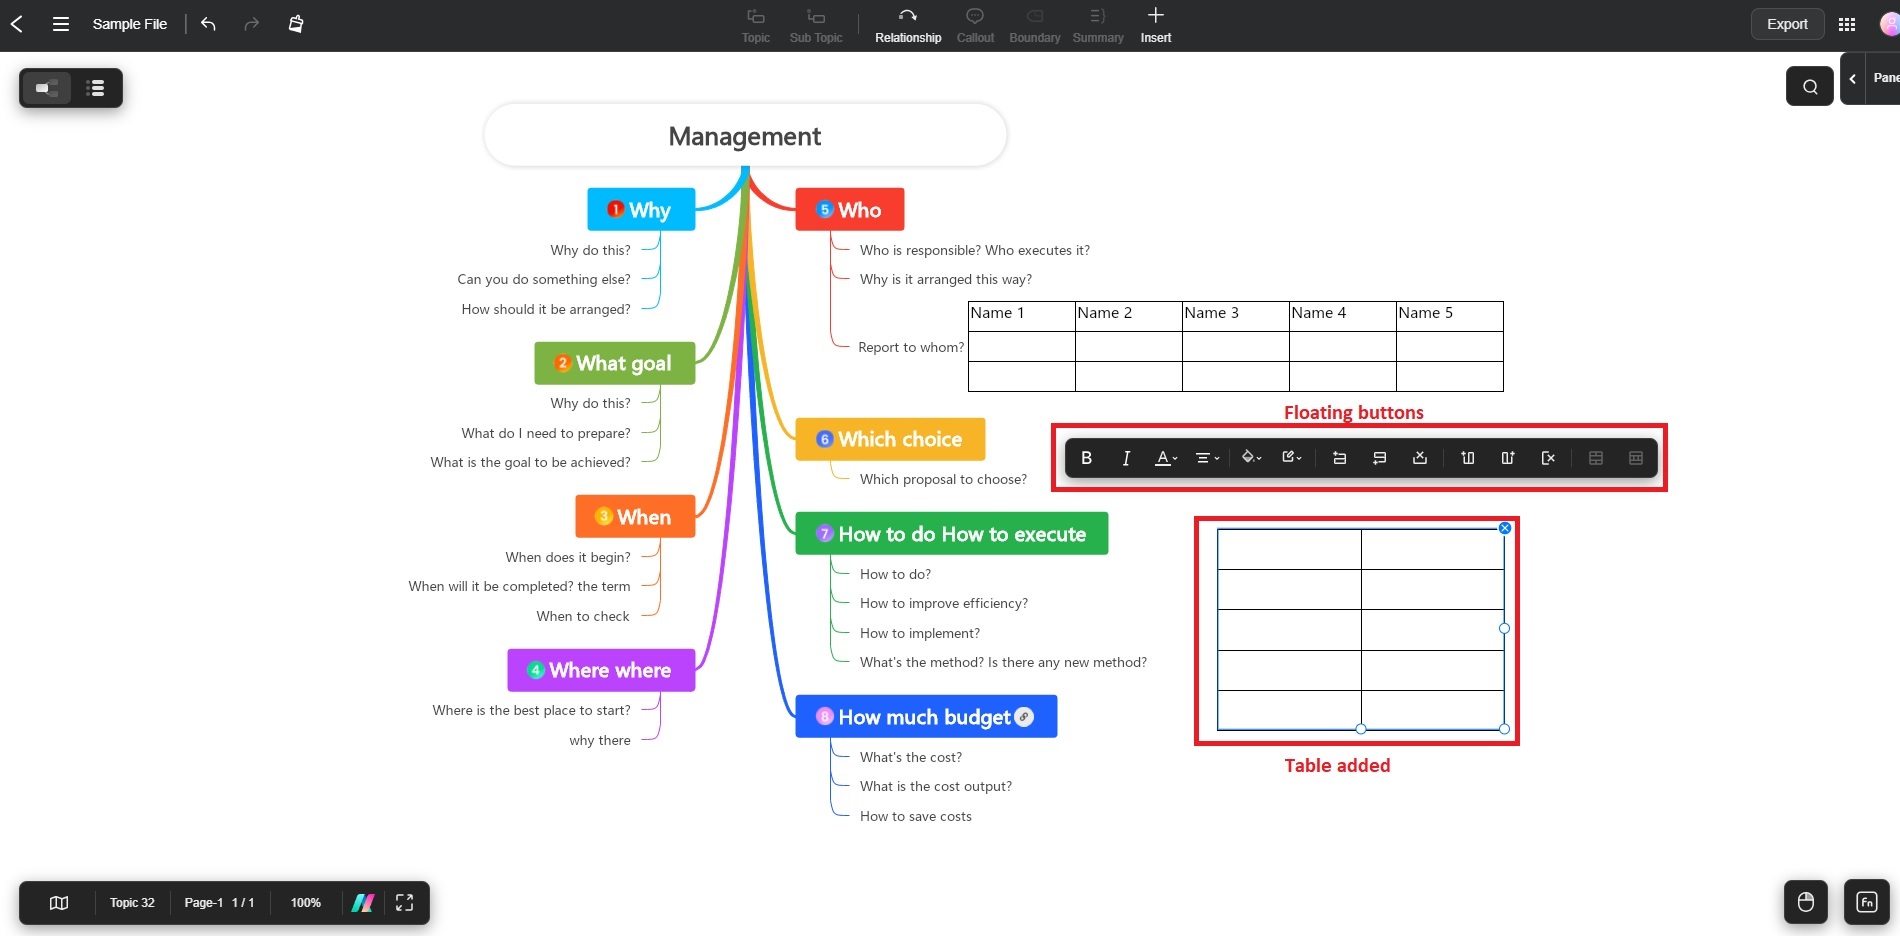
Step ❷
When the table is generated, drag the table anywhere on the canvas. Change the shape, size, and the colors using the floating buttons. Once done, enter the table details as usual.
Editing and Formatting Tables
After inserting a table, you can manage and format it as needed:
- Click the table within your topic to add or remove rows and columns.
- Use the formatting tools available in the Table tab to adjust the appearance, such as changing cell colors, borders, and text alignment.