Creating an org chart in Microsoft Word is a simple way to visually display a company’s structure. Org charts help clarify roles, reporting lines, and department connections.
Microsoft Word offers built-in tools to design these charts effectively. Using these features, you can quickly map out team structures and hierarchies.
This guide will show straightforward steps to make an org chart in MS Word, including valuable tips and alternative tools for more advanced visuals.
In this article
How To Make an Org Chart in MS Word
Microsoft Word offers different ways to create org charts within the app, namely through SmartArt and manually using text boxes and lines. These require different approaches, but they all point to the same goal.
Make sure to explore each method to find what fits your organization best. Keep reading, and you’ll learn two ways to easily make an org chart in MS Word, but remember that exploring the tool is the best way to maximize creativity.
Method 1: Using SmartArt to Create an Org Chart in MS Word
The first method is by using the SmartArt feature. Of the three methods, this is the fastest and easiest method as it uses pre-made templates by Microsoft.
Step 1
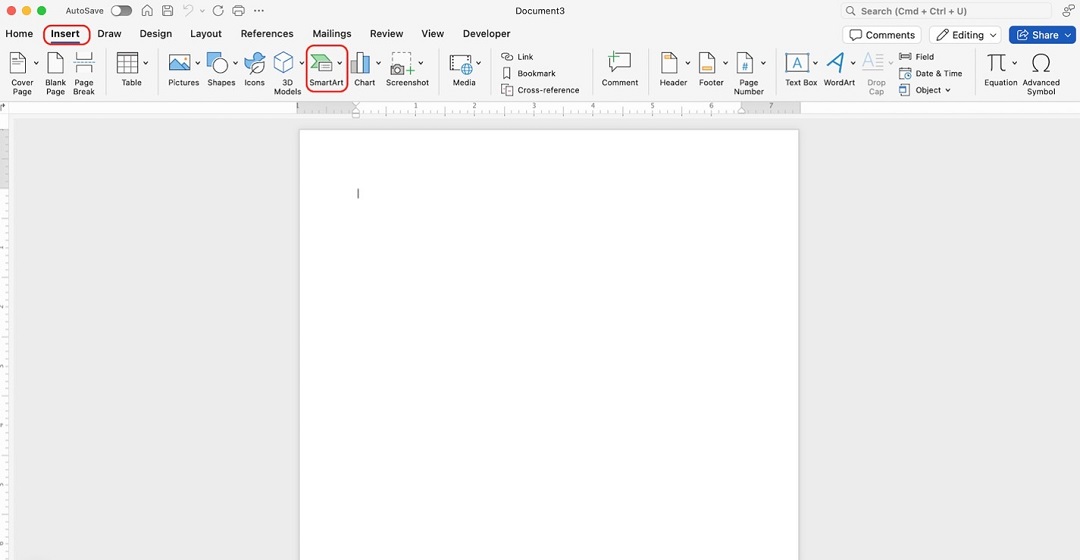
Open Microsoft Word and go to the Insert tab. Select SmartArt to open the SmartArt gallery.
Step 2
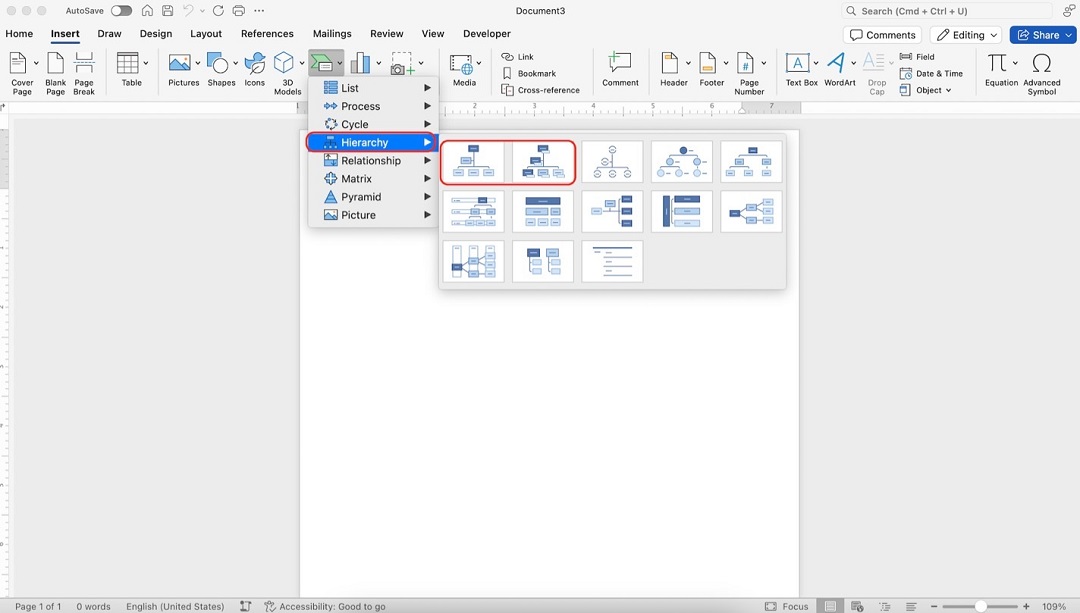
Choose Hierarchy from the gallery. Select an org chart layout that best suits your needs.
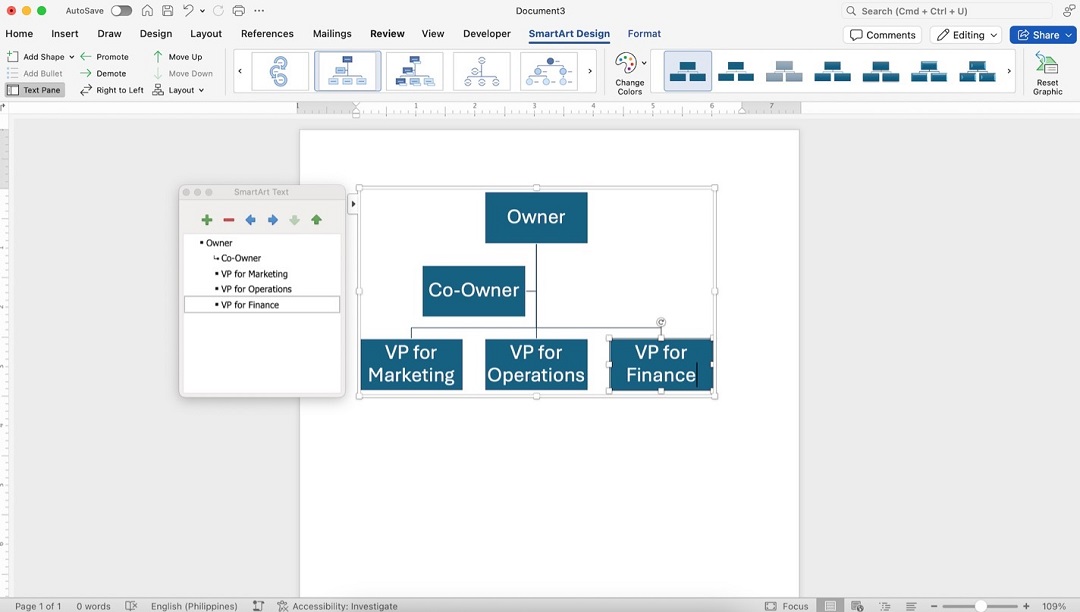
Step 3
Use Text Pane to enter names, roles, and titles. You can add boxes by clicking the + button and delete one by clicking the - button.
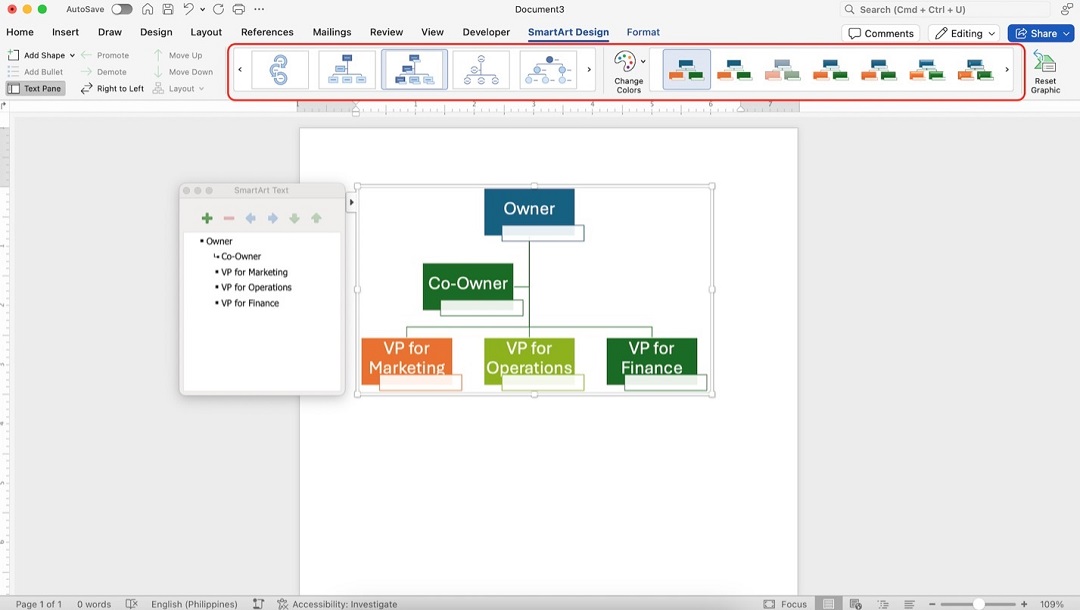
Step 4
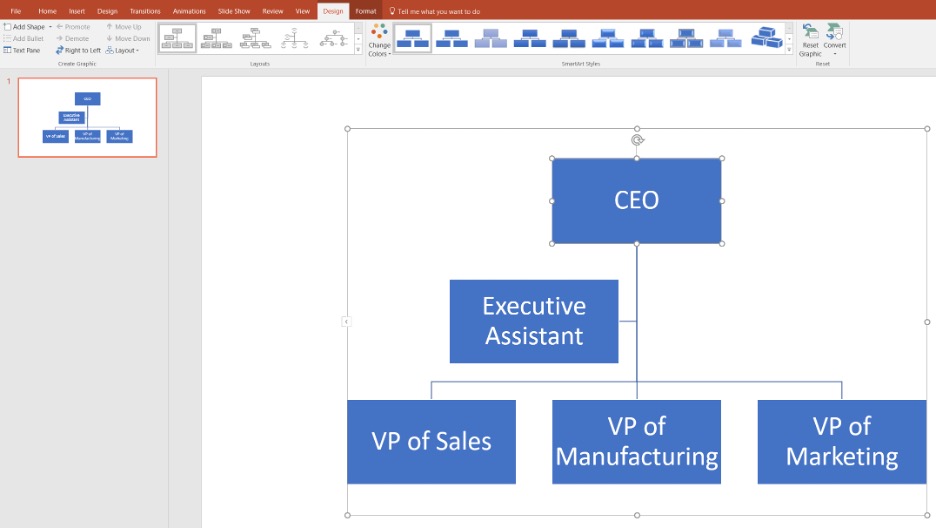
Customize the chart by selecting colors and styles from the SmartArt Design tab. Adjust the layout as needed for clarity.
Step 5
Review and make final edits. Save your document with the completed org chart.
Method 2: Creating an Org Chart Using Shapes and Lines
The second method is to manually create your org chart. You will use Microsoft’s built-in shapes and lines to make your organizational charts. While this might be harder, it provides more creative freedom for you.
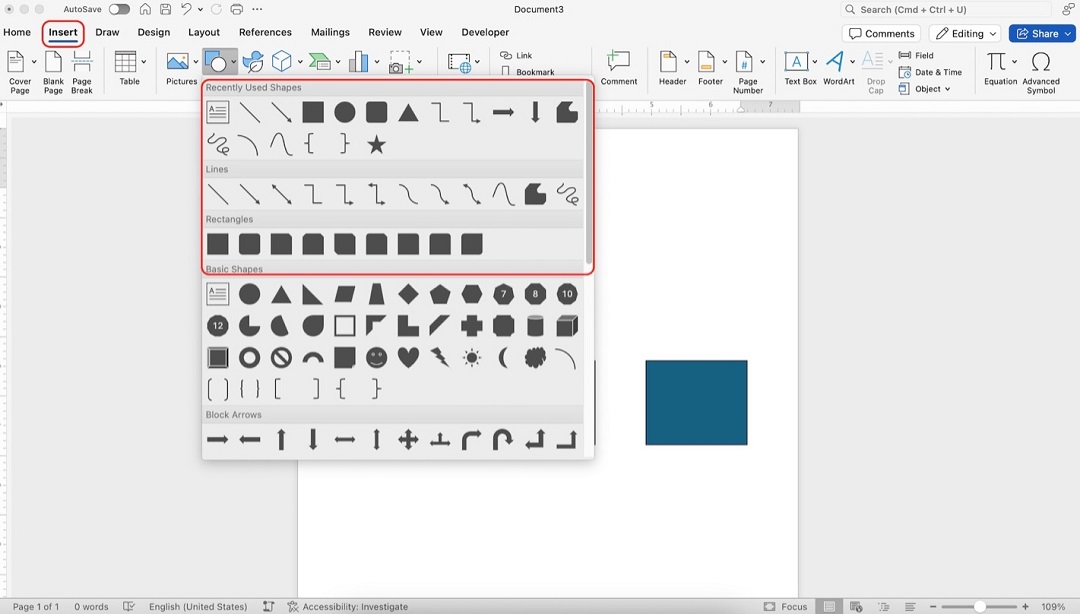
Step 1
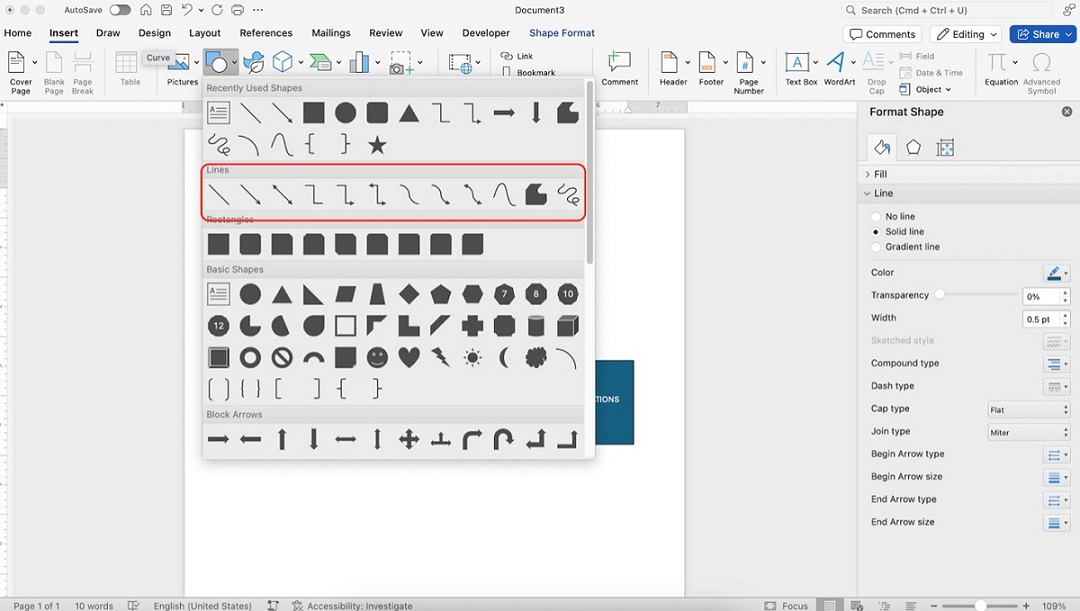
Go to the Insert tab, then click Shape to add individual shapes for each position in the org chart.
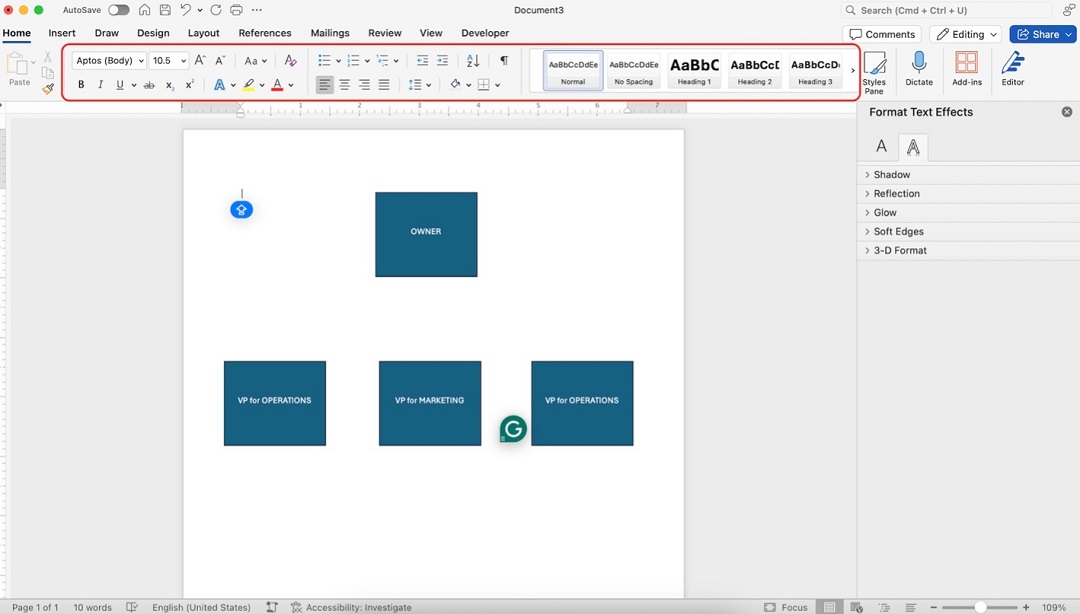
Step 2
Type in names and roles in each text box. To customize, adjust fonts, box shapes, or add colors from the Home tab.
Step 3
Add connecting lines by selecting Shapes under the Insert tab. Choose lines to link boxes according to the structure.
Step 4
Arrange text boxes and lines to match your organization’s hierarchy. Resize boxes for better alignment. Save your document once the layout and connections are complete.
How To Make a Better Org Chart in Edraw.AI
Indeed, MS Word offers basic organizational charting capabilities and a simple way to create them. However, you might lack creative freedom or tools to personalize your charts further. That is why it’s essential to consider an alternative tool: Edraw.AI.
Edraw.AI is best known as an online visual collaboration tool, with 40+ AI tools that you can use to create and customize your org charts. With dedicated diagramming features, shapes, and templates, org charting has never been more accessible. It’s a better way to create org charts for MS Word.
Give it a try and see how easy it would be to craft your organization’s chart. You can try to make org charts within the tool in two ways. Read through to learn more, and load up Edraw.AI in your browser.

Method 1: Make an Org Chart From Scratch
Like in MS Word, you can create org charts from scratch in Edraw.AI. However, you’ll find that its features are more suitable for the purpose. Follow the steps below to begin:
Step 1
Click + New on the homepage.
Step 2
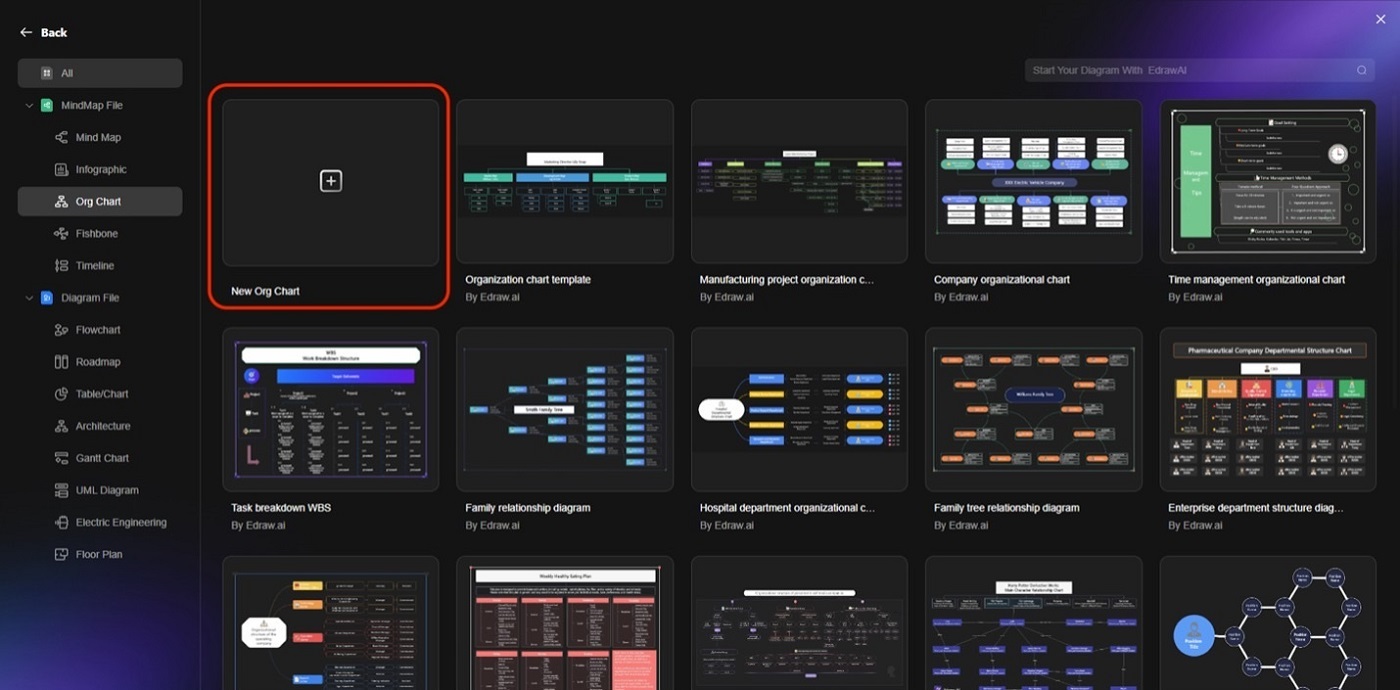
Go to Org Chart > New Org Chart.
Step 3
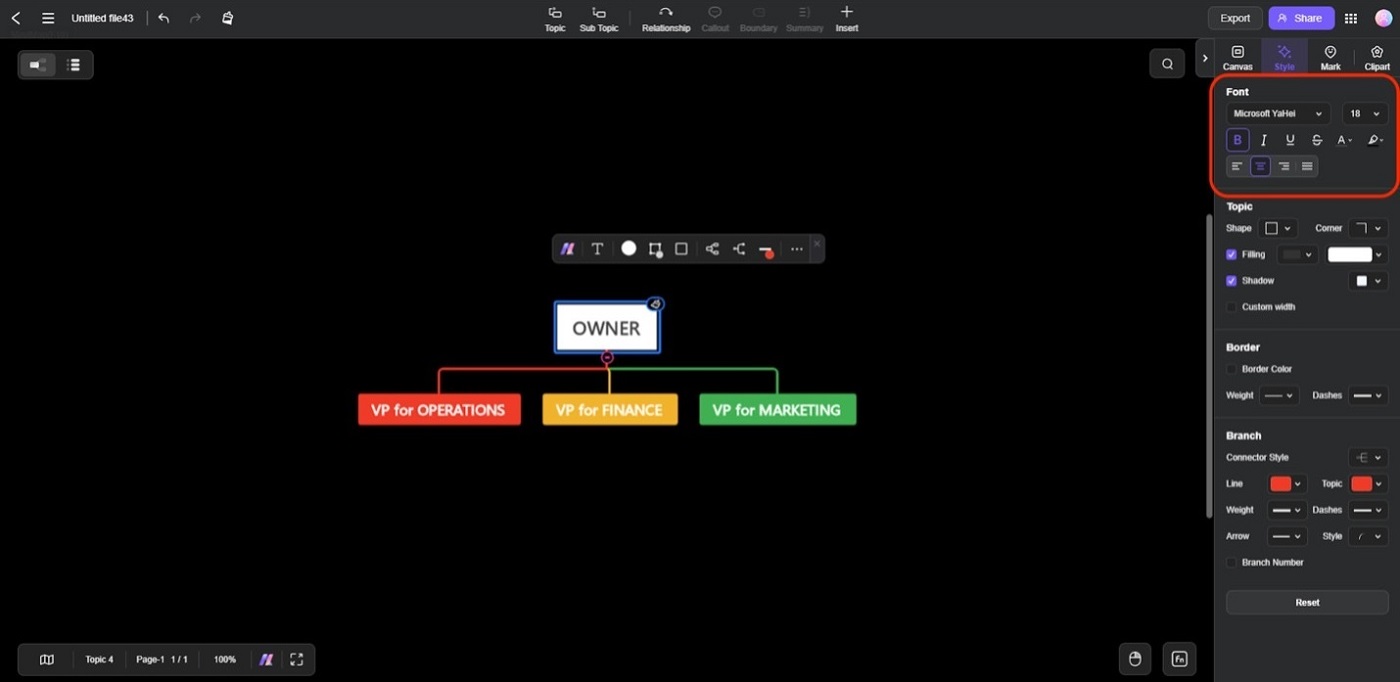
Edit the text of the pre-set nodes according to positions. Use the appearing customization bar to change font style/color/size.
Step 4
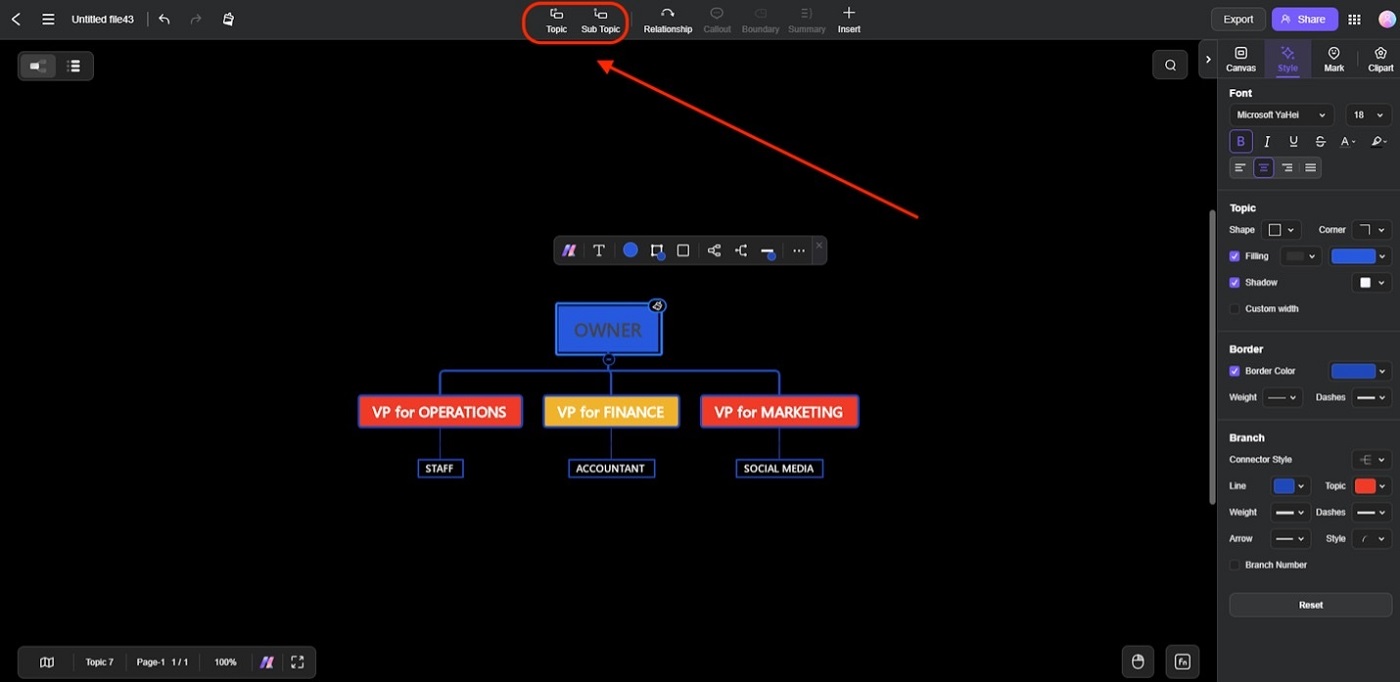
Depending on your organization’s structure, select a node and click Sub Topic to add a position below it. Press the Delete keyboard to remove nodes.
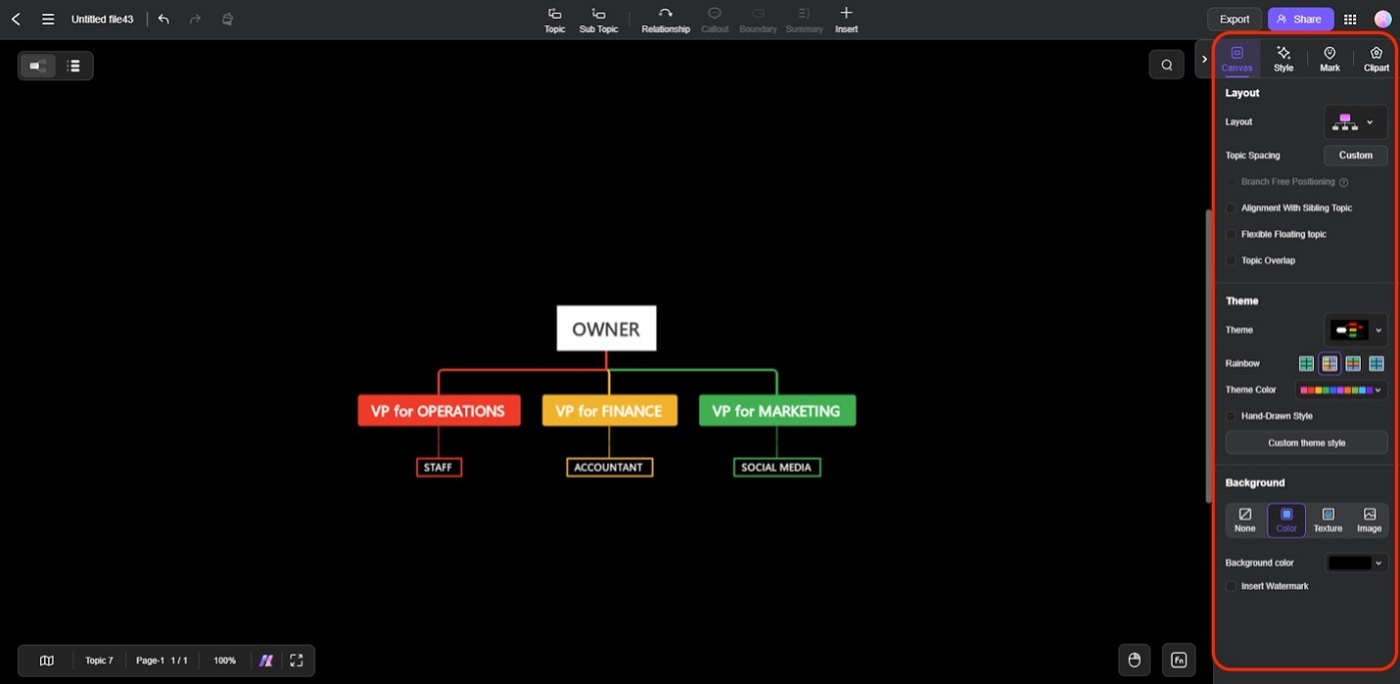
Step 5
Customize the appearance of your org chart using the customization bar or the right-hand panel under Canvas.
Tip: Use Theme to change the design of the chart in one click.
Method 2: Use an Org Chart Template
Another option is to use Edraw.AI’s collection of templates for org charts. This is an easier way, just like using SmartArt in MS Word. You can easily create org charts without worrying about design. All you have to do is edit according to your organizational structure.
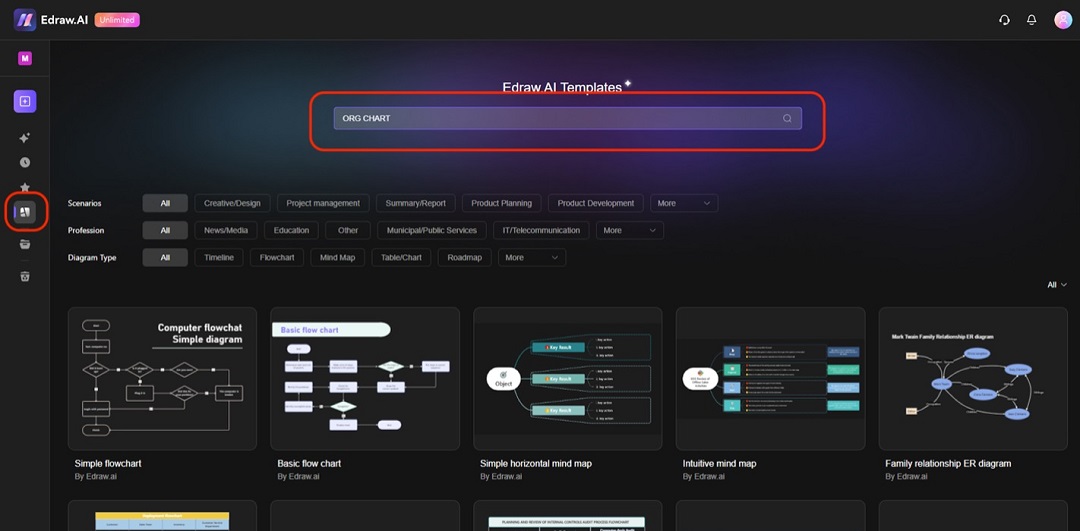
Step 1
Go to the Templates tab from the homepage. In the search bar, type in “org chart”.
Step 2
Select a template that you like.

Step 3
In the appearing window, click Create with template.

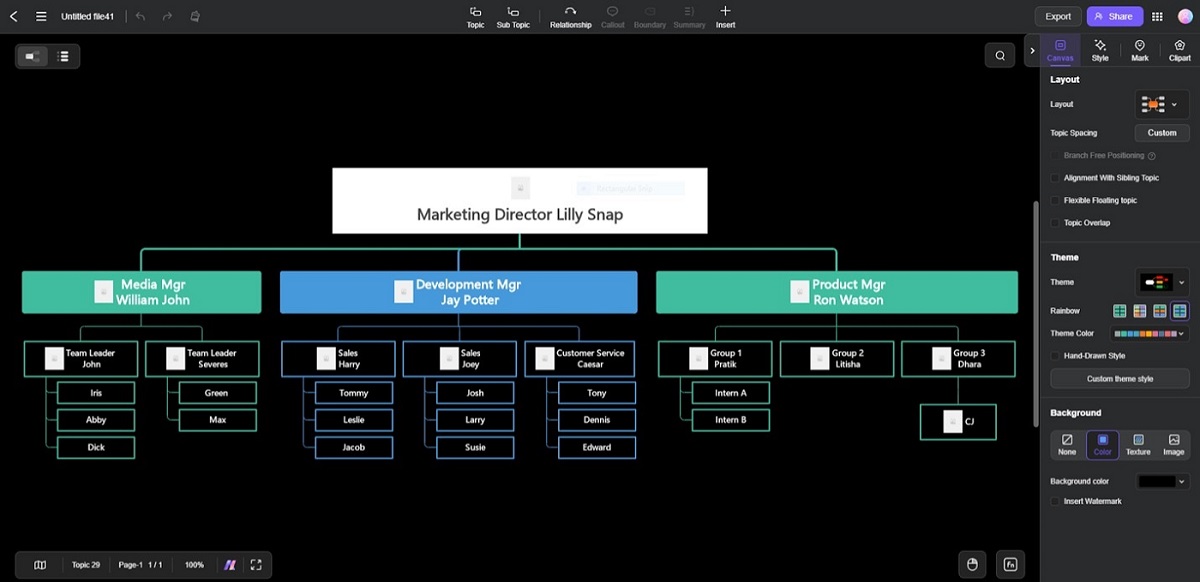
Step 4
Edit the template following steps 3-5 of the previous method and other creative tools as you may explore.
Tips for Making Org Charts in MS Word
Now that you know how to make an org chart in MS Word, here are some tips that you can follow to improve your skills. With these tips, you can easily enhance your org charting skills using the app.
- Use landscape orientation. While the portrait orientation works, more complex org charts are better presented in the landscape format. This is so you have as much space as possible to add positions within your organizations.
- Keep text simple and consistent. Use clear titles and names, and keep font sizes consistent across the chart. This enhances readability and ensures a professional look.
- Customize colors for clarity. Highlight different departments or levels by using colors. In SmartArt, go to SmartArt Design > Change Colors to pick from coordinated themes.
- Align boxes precisely. For custom layouts with text boxes, use the Align option in the Format tab to line up boxes evenly. This helps maintain a clean and organized structure.
- Save as a template. Once your chart is complete, save it as a template for future use. This can save time if you frequently create org charts with similar layouts.
Conclusion
Creating org charts in Microsoft Word is a practical way to outline company roles and structures. With its built-in tools, Word simplifies this task, making it accessible even for beginners.
For more advanced visuals, tools like Edraw.AI offer additional customization options, templates, and collaboration features. Choose the method that best fits your needs.
With this guide, you’ll have an effective chart to help establish proper communication channels within the organization and promote your company’s strengths and departments to potential clients.

Prefer working locally?
Make 210 types of diagrams: flowcharts, blueprints, UML, etc
AI Mind Map, AI PPT, real-time
collaborative brainstorming