Flowcharts help you plan workflows, brainstorm effectively, and simplify complex tasks. They provide structure and clarity when you need it most. Flowchart creation should feel effortless but using the wrong tool can slow you down.
That’s why I recommend Draw.io, a browser-based tool that removes barriers like downloads and account sign-ups.
As someone with extensive experience using diagramming tools, I find its simplicity refreshing. Features like cloud storage make saving and collaborating seamless.
In this write-up, I will walk you through using Draw.io for flowcharts without complexity.
In this article
What is Draw.io?
Draw.io, or diagrams.net, is an open-source diagramming tool that supports multiple formats. Its drag-and-drop system and selection of templates make it ideal for designing flowcharts and mind maps efficiently.
For those who need more customization, the tool supports building with custom shapes. Its integrations with Google Drive, OneDrive, and Confluence make collaborating and sharing diagrams easy. Export options like PNG, PDF, and SVG add further convenience.
Transparency is a core principle, as its open-source nature allows public access to its code. Security features like password-protected files and cloud storage make it a dependable option.
From professionals to students, draw.io provides a great mix of usability, flexibility, and security.
How to Use Draw.io for Flowchart Creation?
Here’s how to create a flowchart in Draw.io with simple steps:
Step 1Start a New Diagram
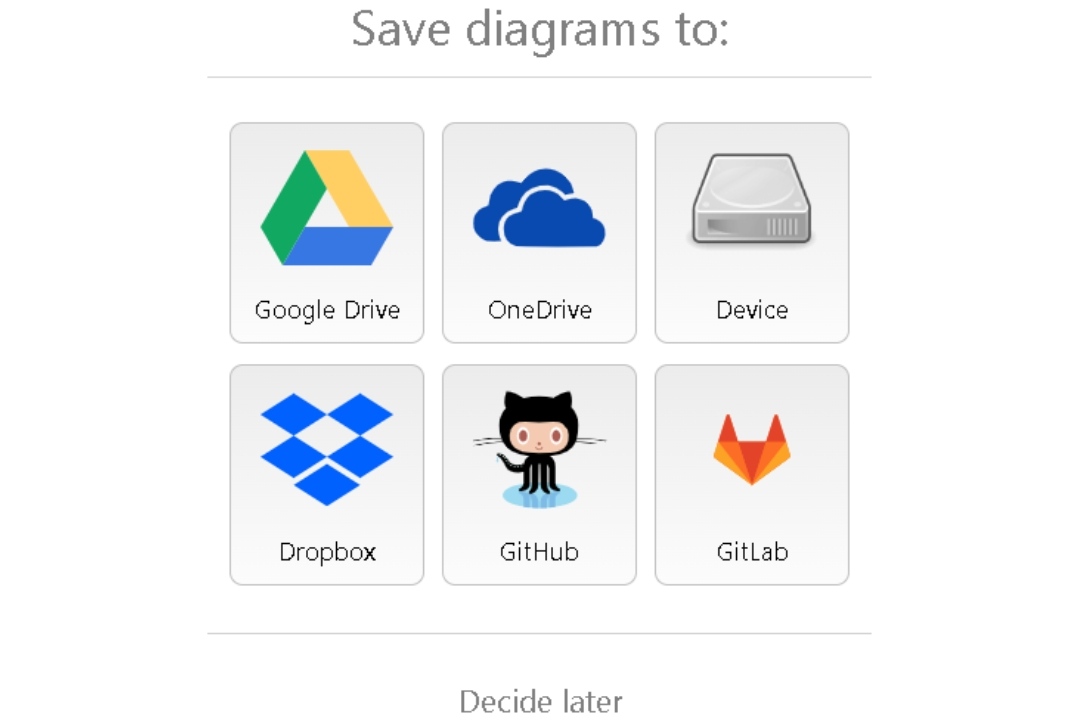
Open Draw.io, and choose where to save your files; options include your local device, Google Drive, OneDrive, and more. Cloud storage is ideal for collaboration and easy access.
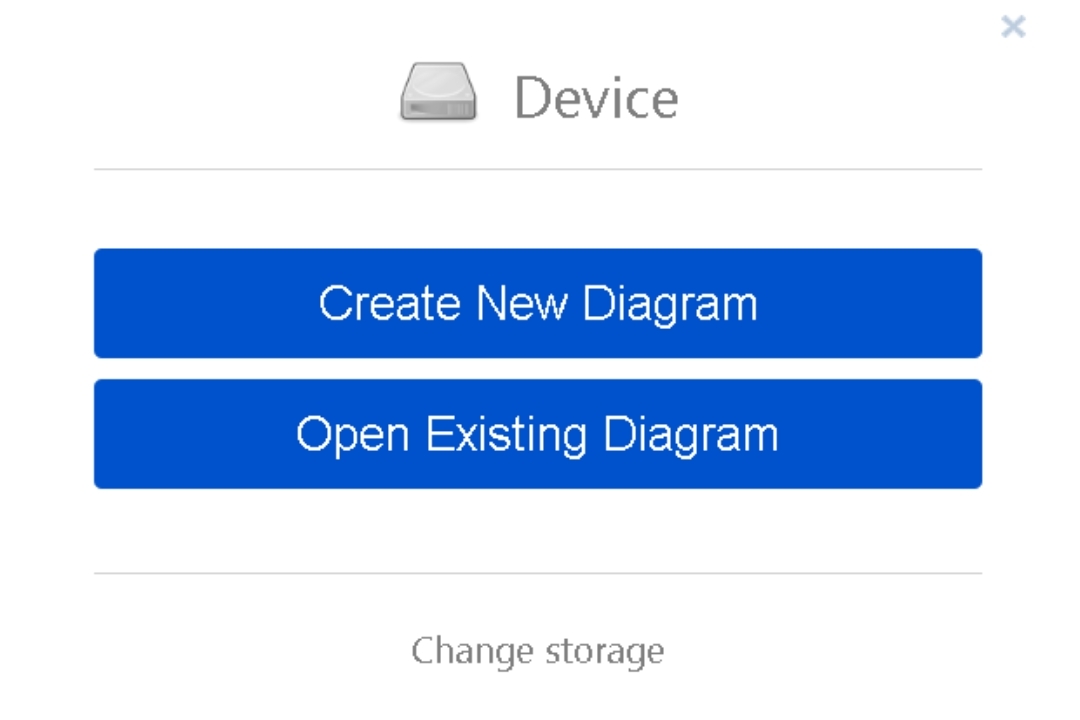
On the next screen, click Create New Diagram to begin.
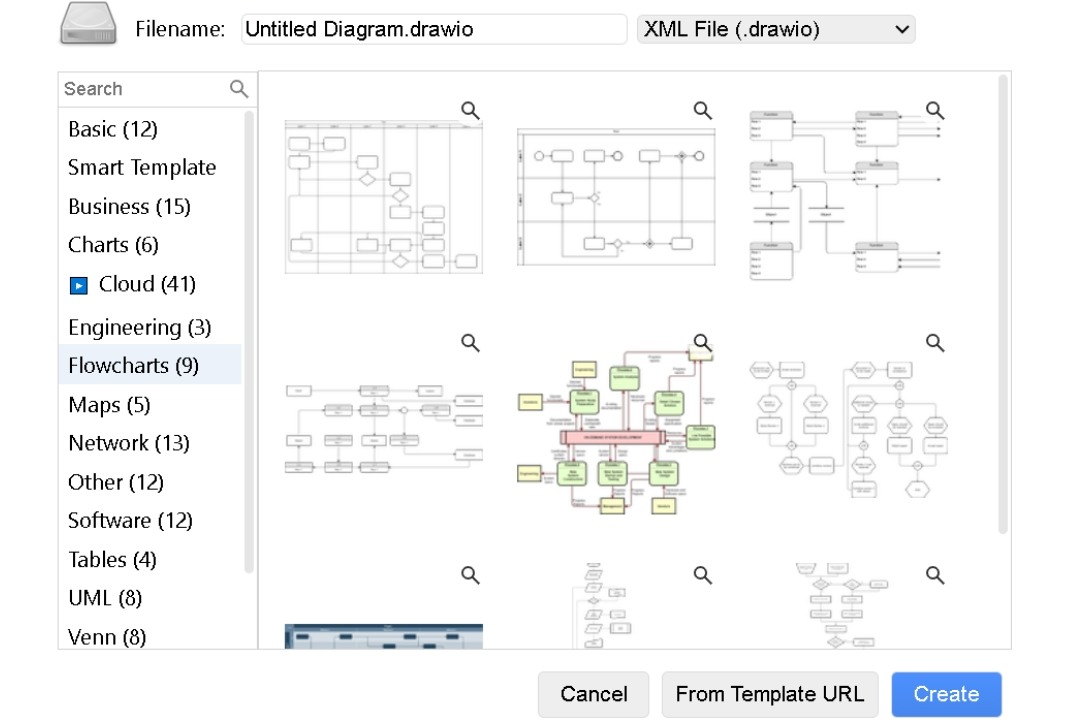
Browse the Flowcharts category and choose a template that suits your style. When you click on it, the template will load in the editing panel for customization.
Step 2 Customize Your Flowchart
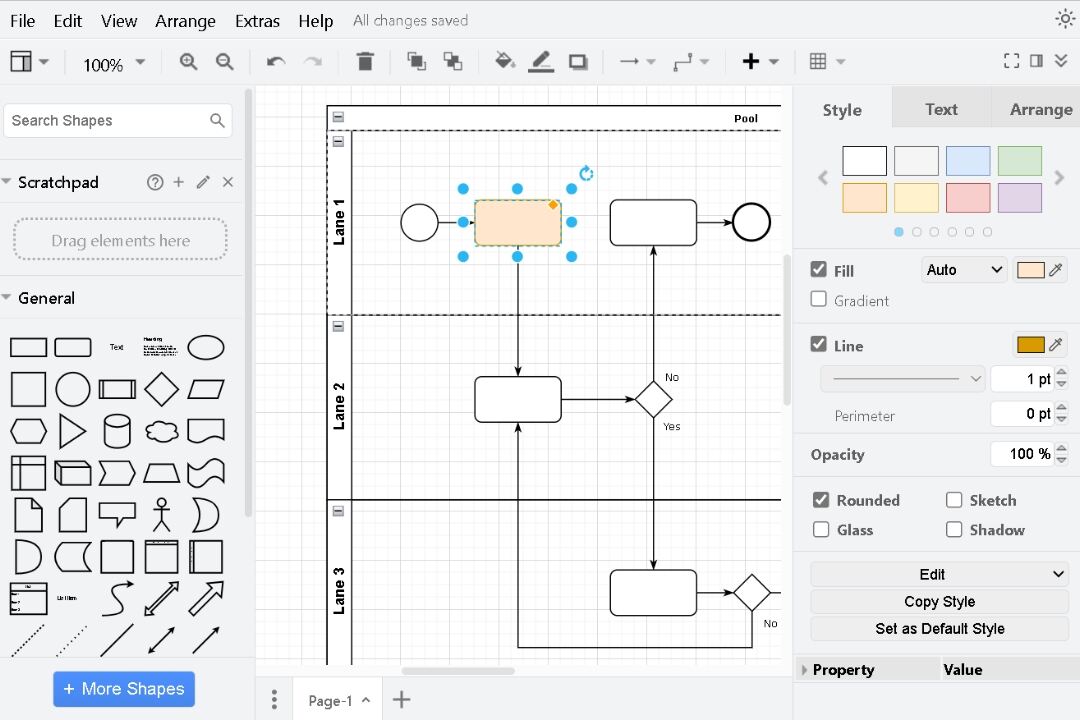
Edit your flowchart by dragging shapes from the left menu to your canvas. Resize them by adjusting the corners or move them around easily.
Select any element, and explore the right-side menus (Style, Text, Arrange) to modify text, layout, colors, effects, etc.
Connect shapes using arrows, and tweak lines to refine your flowchart.
Hit More Shapes to add relevant and required categories.

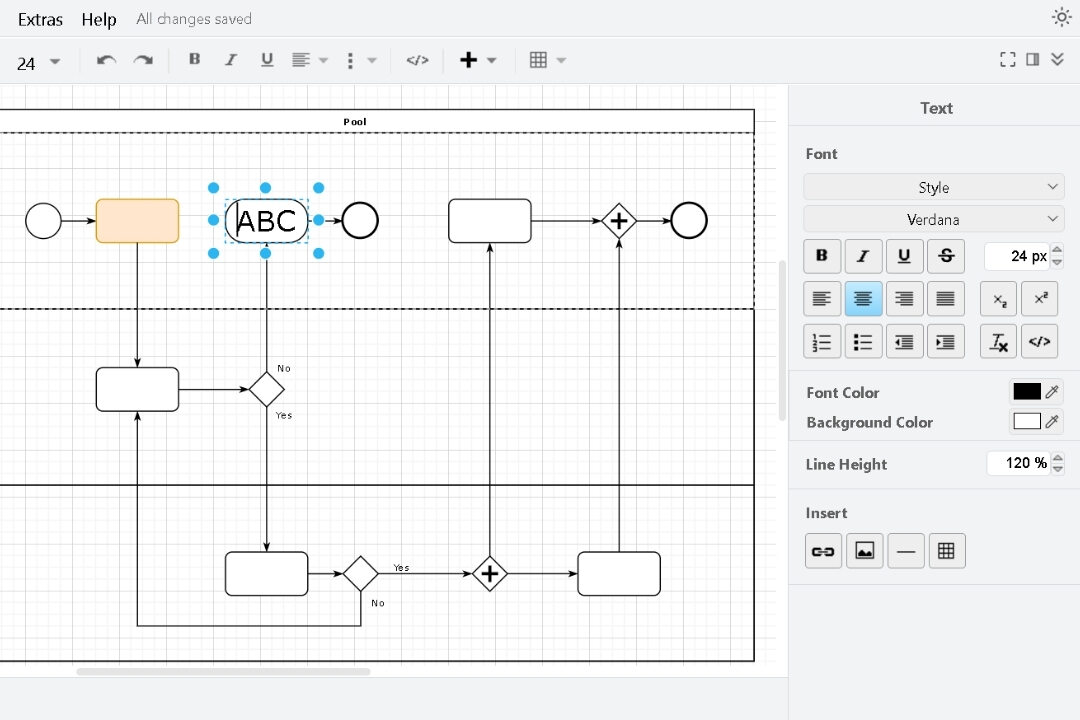
Double-click shapes to add text and customize fonts for clear labeling. Use the right-side Text menu to change style, font, alignment, color, etc.
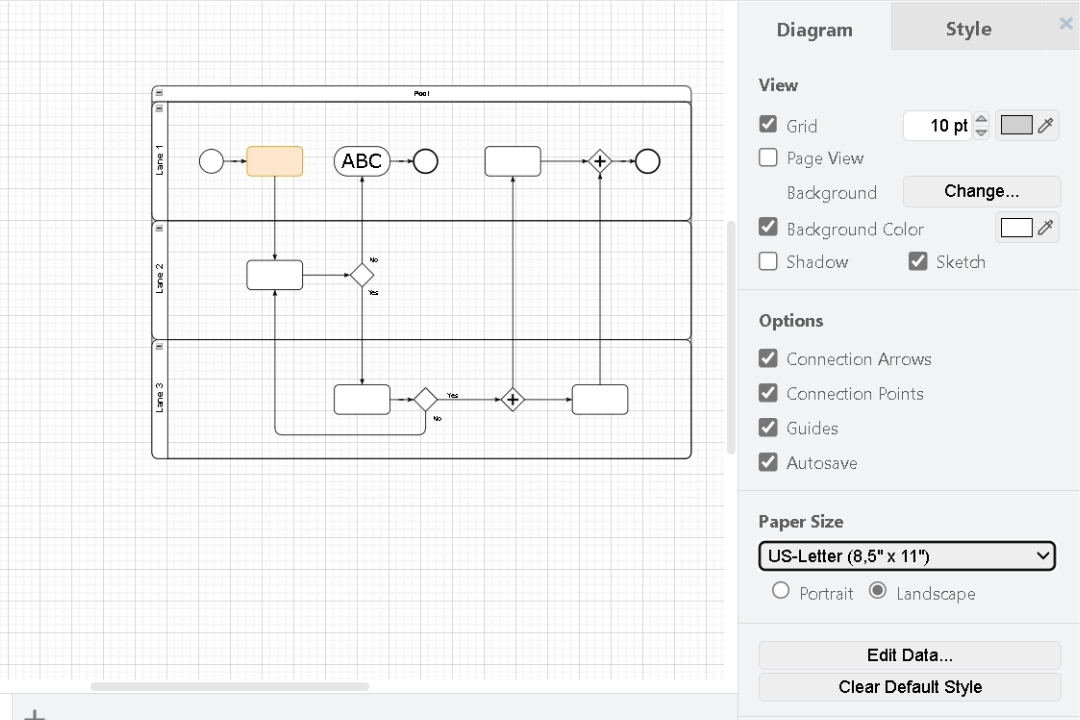
Click the background, and use the Diagram menu to add a background or activate the grid for precise alignment.
Adjust layout, orientation, or size to suit your requirements.
This Style menu can be used to modify design color and style.
Step 3 Export Your Flowchart
When done, click File > Export as to save your flowchart in formats like PNG, PDF, or SVG.
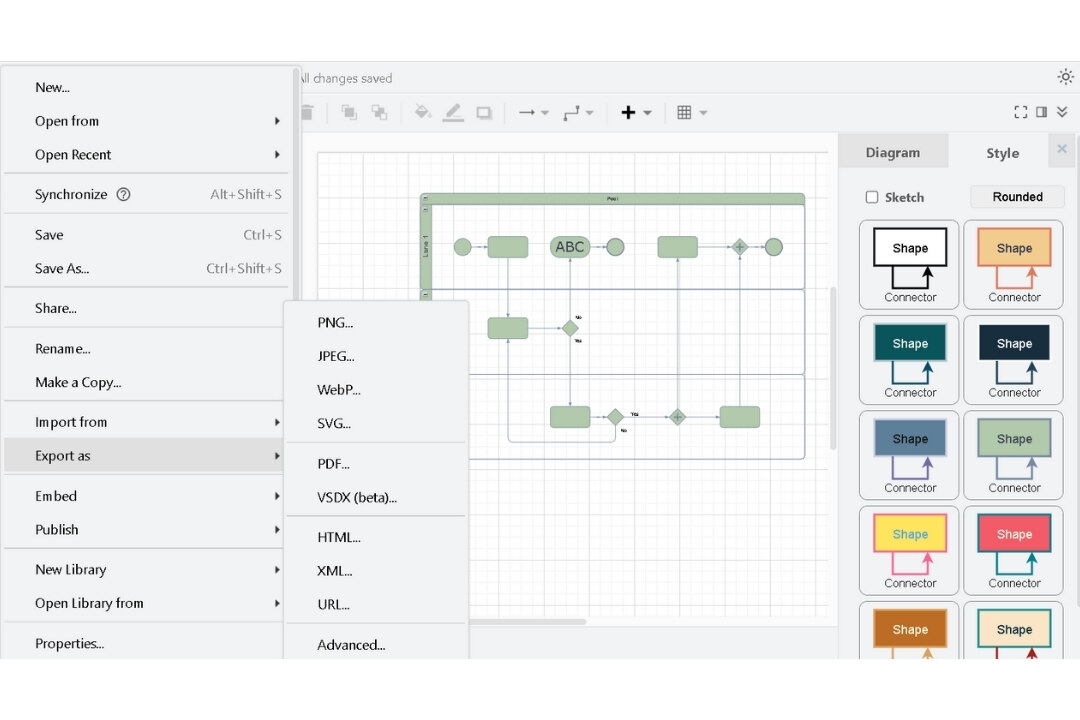
Customize export settings before exporting your final diagram.

Edraw.AI: Best Draw.io Alternative with Advanced AI Features
While Draw.io works well for basic flowcharts, Edraw.AI automates complex tasks, making the process more efficient and accessible. This makes it a powerful Draw.io alternative for anyone, whether you're a novice or an expert.

- AI-enhanced brainstorming and diagramming help save time and spark new ideas, features Draw.io doesn't provide.
- It gives you access to 700+ templates, over 26k elements, and a simple interface for precise customization.
- Real-time collaboration and shared canvases make team projects smoother in Edraw.AI.
- Auto-align and distribute design elements to get a professional finish with minimal effort.
- It allows you to export your work in multiple formats, including PNG, SVG, PDF, Excel, etc.
How to Create Flowchart Online Using AI?
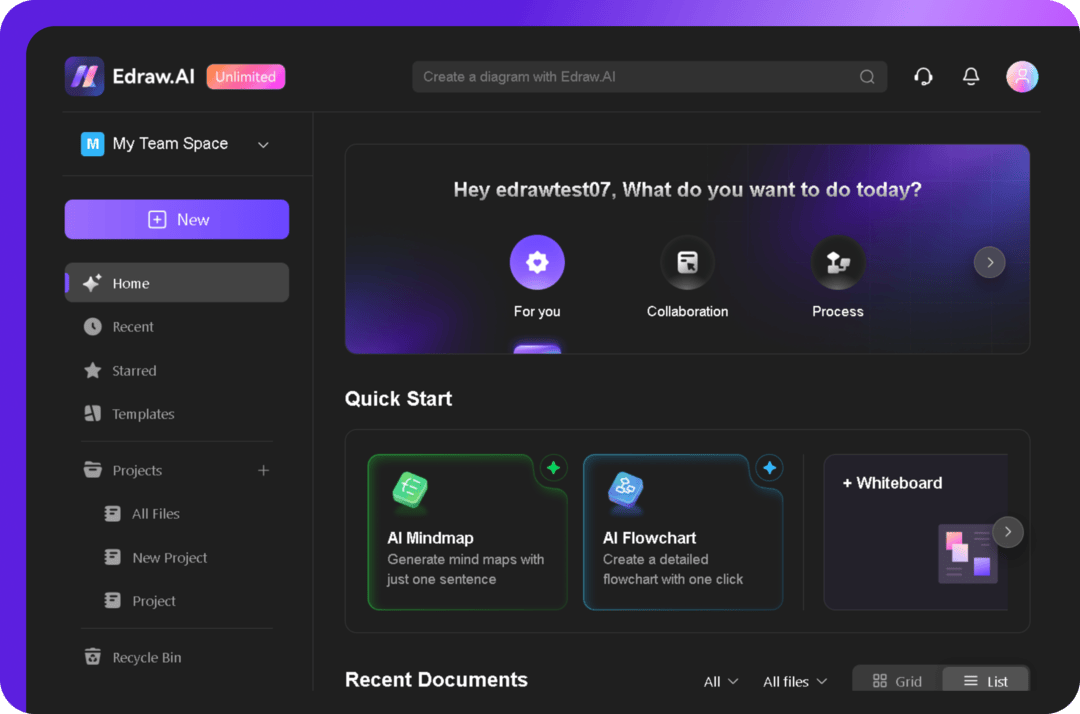
Step 1 Start Edraw.AI
On your Edraw.AI Home screen, choose AI Flowchart from the Quick Start section.
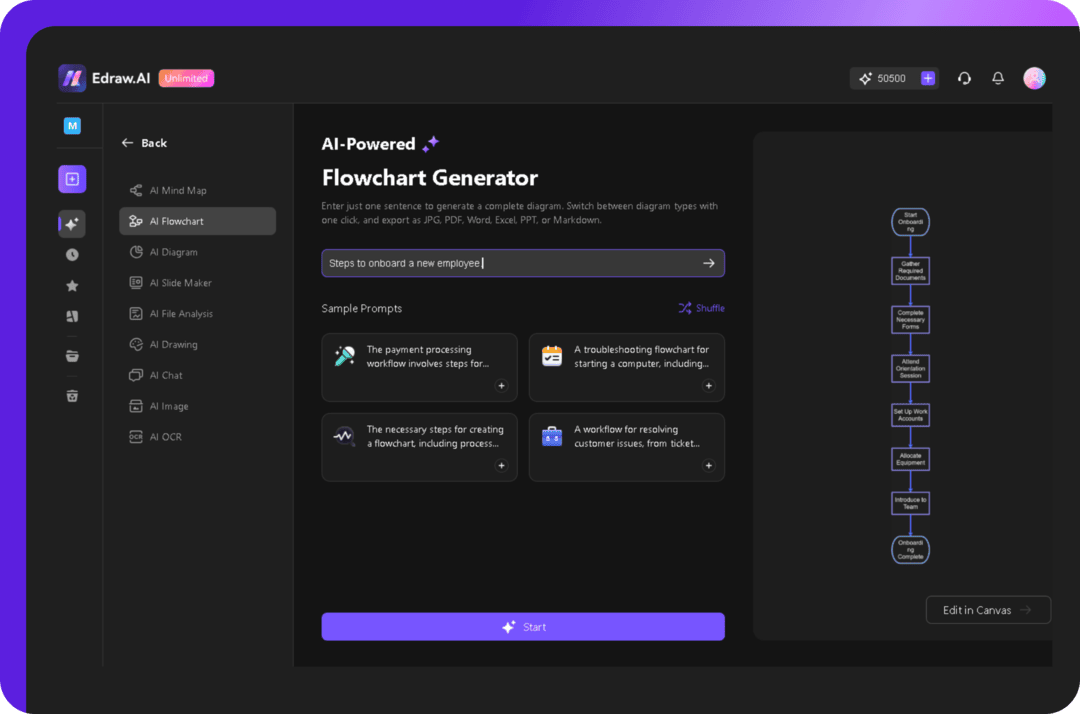
Enter the details of your process in the prompt section, and click Start to generate the flowchart.
When generated, tap Edit in Canvas to personalize it.
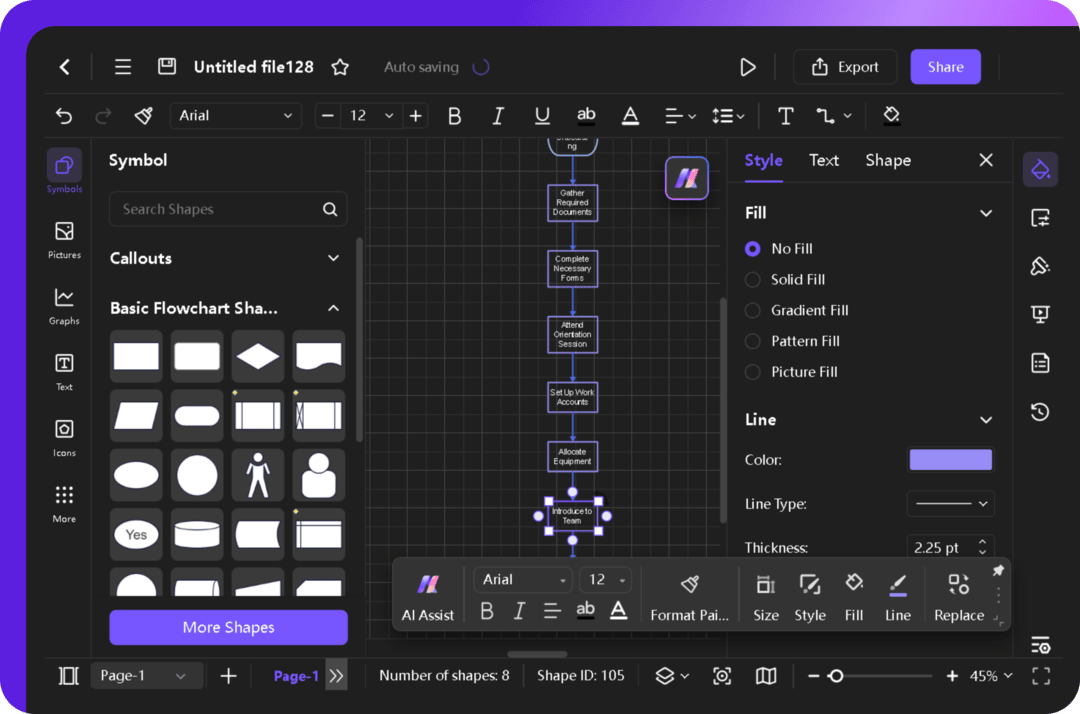
Step 2 Customize Your Flowchart
Use the left-side library to enhance your flowchart with symbols, icons, images, etc.
Add or delete shapes as necessary.
To quickly modify text, double-click on a shape.
Select any element and go to the Style tab to modify colors, line thickness, and fonts according to your preferences.
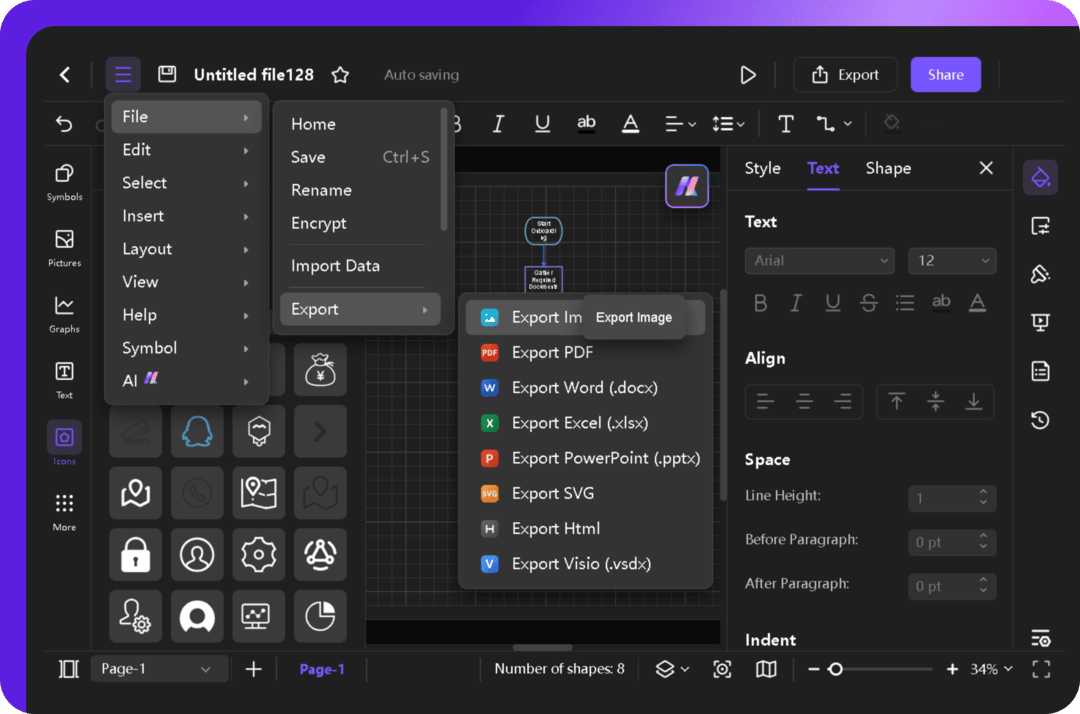
Step 3 Export Your Flowchart
With your flowchart complete, go over the details. Check the labels, add a title, and make layout changes if required. When satisfied, go to File, click Export, select a format like PNG or PDF, and save it wherever you need.
Conclusion
After using draw.io for flowchart creation, it’s clear that this tool stands out for its simplicity and ease. There’s no need to download or create an account, making it a quick solution for diagramming. The interface is user-friendly, offering clear options for creating and adjusting flowcharts.
The flexibility to save files to Google Drive or OneDrive adds extra convenience. Features like design effects, and exporting to various formats cater to a wide range of needs.
For those looking for more advanced, offline options, Edraw.AI offers powerful AI features. With its AI-powered tools for flowcharts and mind maps, it’s a top choice for users needing more functionality than draw.io.
FAQs
-
How to use draw.io efficiently?
Use templates and alignment tools, and save your work frequently. Export your files in different formats as needed. -
How to recover a draw.io diagram?
Recover diagrams from cloud storage or browser history. If lost, restore from previous versions in cloud services. -
How to view draw.io files?
Open draw.io files from your storage location on the web or a compatible app. -
What is the best program to create flowcharts?
Draw.io is excellent for free, simple flowcharts. For more features, try Edraw.AI or Microsoft Visio.

Prefer working locally?
Make 210 types of diagrams: flowcharts, blueprints, UML, etc
AI Mind Map, AI PPT, real-time
collaborative brainstorming