
Flowcharts are often used in many industries and situations. Due to this type of diagram, leaders have found a way for more people to digest and understand complex steps within a team or organization.
Now, if you have an Apple device and are trying to create a flowchart, then there’s an app for you. It’s called Keynote, Apple’s PowerPoint counterpart. You’ll also learn an alternative diagramming tool with AI capabilities later.
But before that, let’s dive into the steps to create flowcharts in Keynote first.
In this article
1. How To Make a Flowchart in Keynote
Bring out your Mac or iPhone and download Keynote from the App Store if you don’t have it installed yet. Keynote is a clean, simple, and straightforward presentation tool. While it’s not as popular as its Microsoft counterpart, Keynote offers a much cleaner way to create beautiful presentations in iOS/macOS devices.
Sadly, there are no other ways to create flowcharts in Keynote other than from scratch. Of course, you can always download presentation files from the Internet, but if we’re talking about the native ways to make flowcharts in Keynote, there’s no other way.
Regardless, Keynote offers some pretty functional and aesthetic tools and elements to create flowcharts. Follow the steps provided below to start making them.
Steps To Create a Keynote Flowchart With a Macbook
First, here are the steps to create a Keynote flowchart using your Macbook. The steps provided here will be similar to those of an iPhone in substance (which will be provided in the next section.)
Step 1
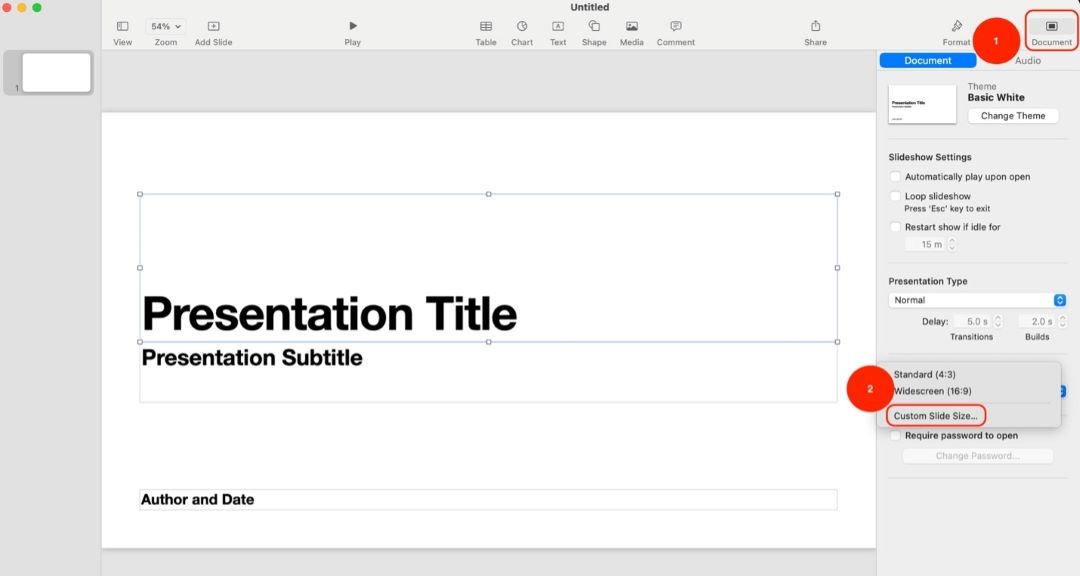
(Optional): If you want to create a flowchart vertically, go to Document > Slide Size > Custom Slide Size.
Step 2
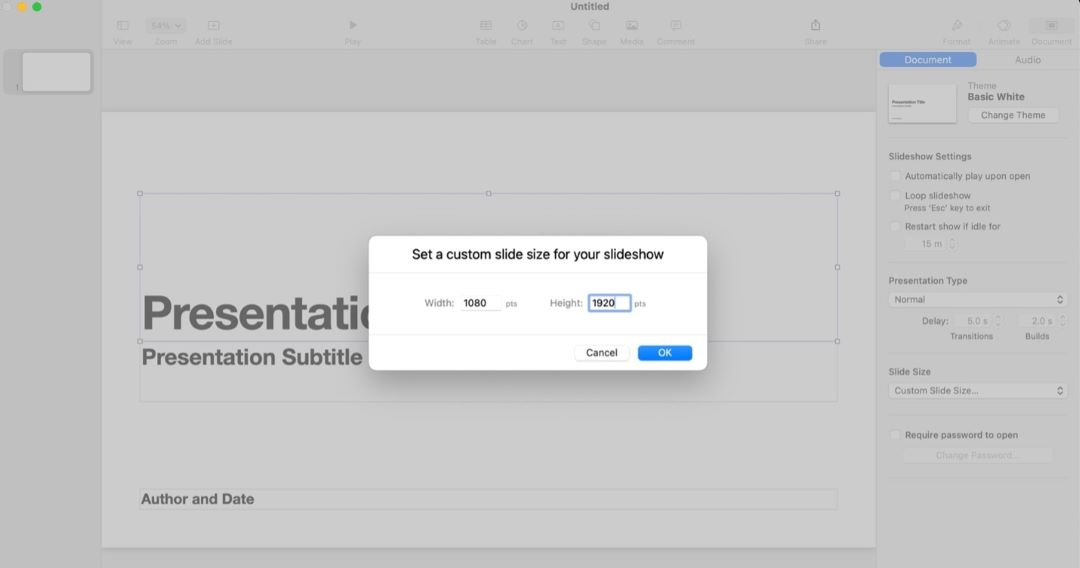
(Optional): Set the slide size to a portrait/vertical size such as 1080x1920. Click OK afterward.
Step 3
Start by adding shapes from Shapes > Basic.
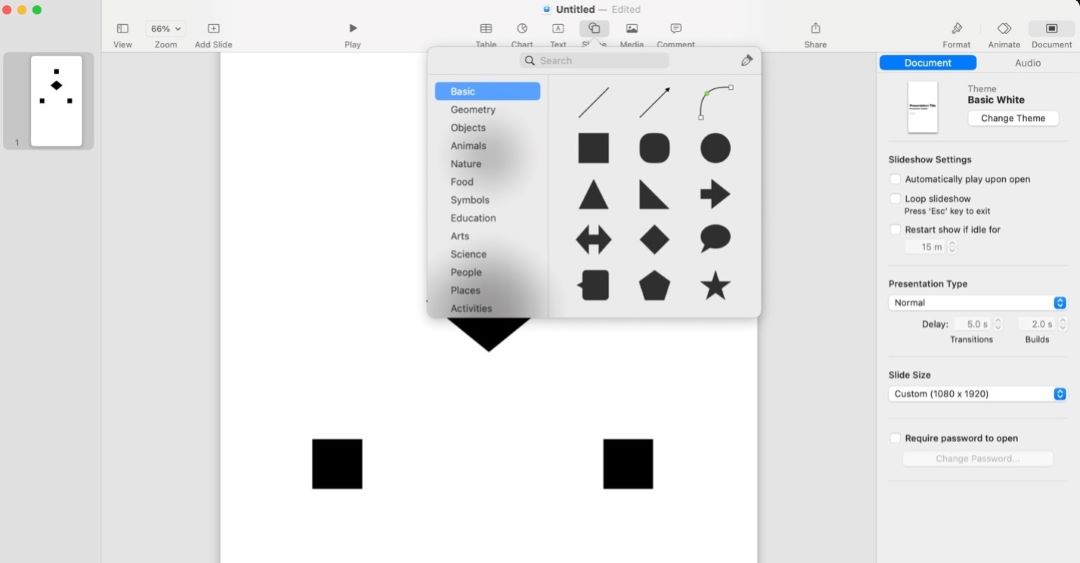
Tip: You can explore other shapes using Geometry.
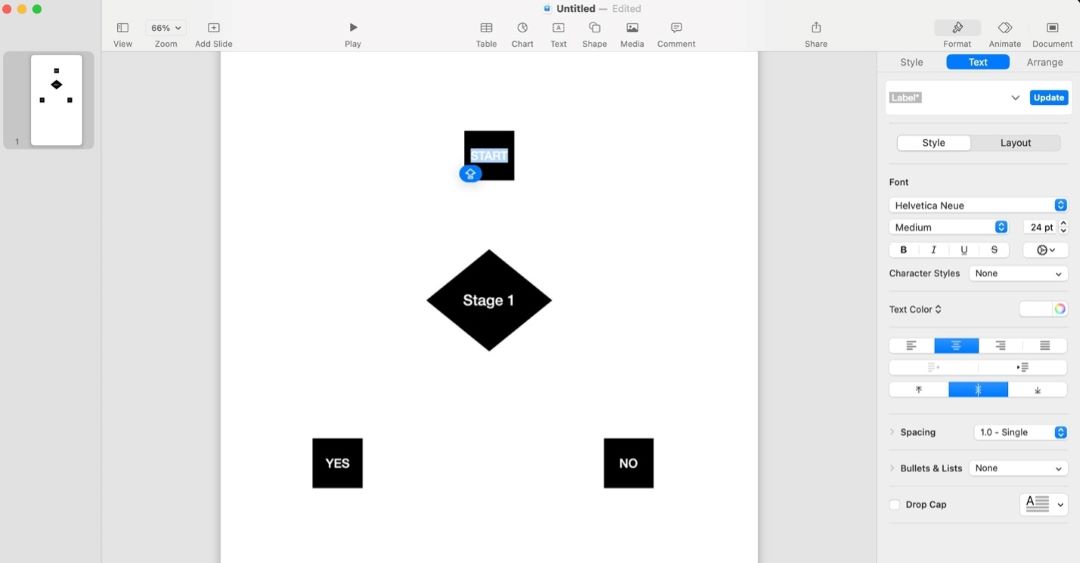
Step 4
Add text to the shapes by double-clicking on them. Use the Format > Text panel on the right side to customize text styles.
Step 5
Connect the shapes using the arrows under Basic or Geometry.
Tip: Use the Connection Line to add a line that automatically snaps to each shape, even as you move them around.

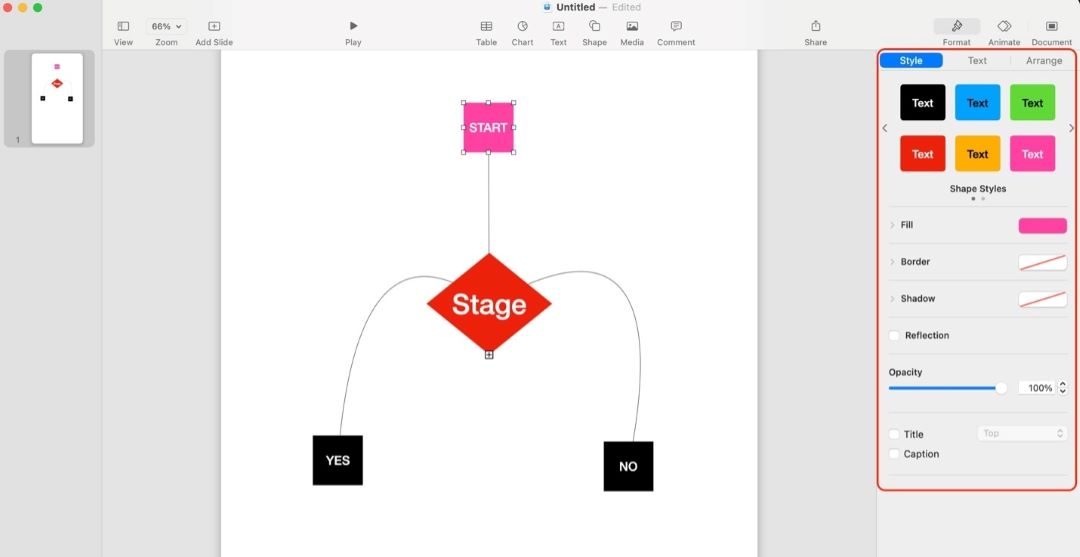
Step 6
Customize your flowchart’s colors using the Format > Style panel.
How To Create a Keynote Flowchart With an iPhone
If you also have an iPhone, you might be glad to know that Keynote is also available on iOS. While the functionality is similar, there are some differences in UI that you’ll have to note. Overall, though, the experience is the same, and you won’t be lost exploring Keynote in iOS if you’ve tried the macOS version.
Still, here are some steps that you can follow:
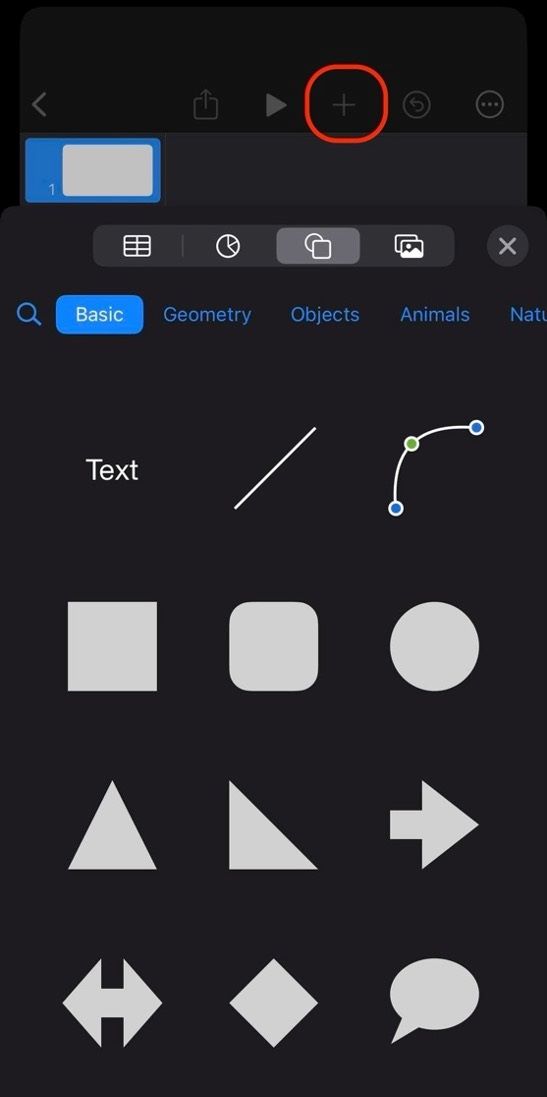
Step 1
After creating a presentation, tap the + sign and add the shapes and lines from Basic or Geometry.
Step 2
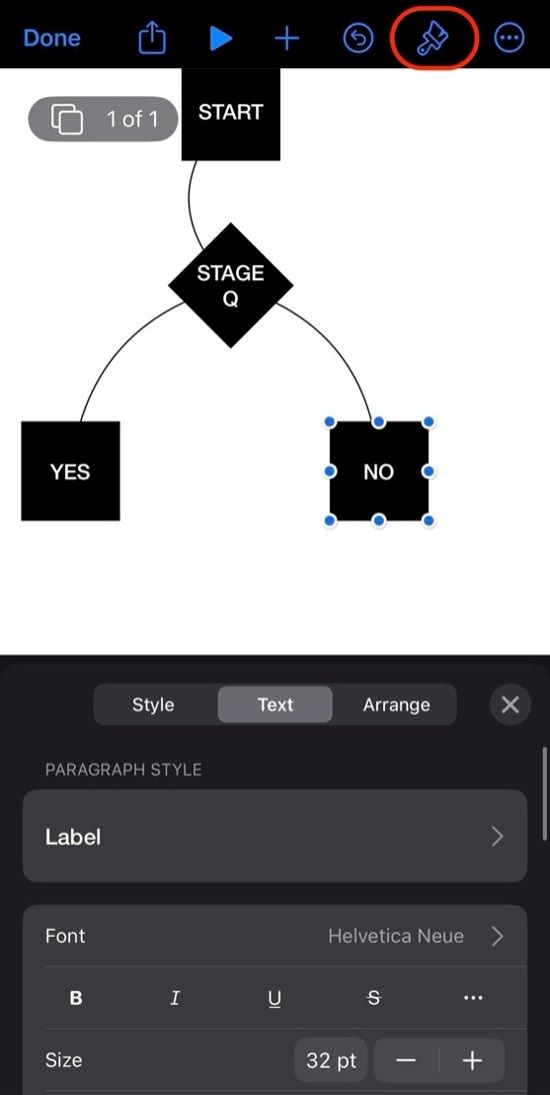
Double-tap on the shapes to add text to them.
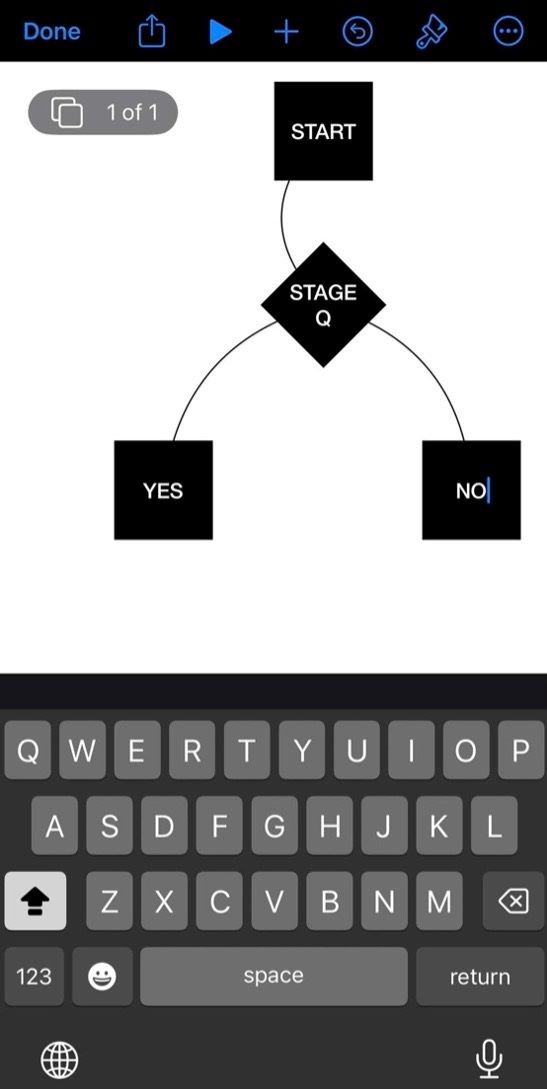
Step 3
Tap the Format button to change the Style and Text fonts, colors, and more.
How to Make a Flowchart Easier on Edraw.AI
Done exploring Keynote? You might find that you need more features for flowcharting. After all, a keynote is designed for presentations rather than diagramming. Thus, you can always add a third-party tool to your workflow to level up your Keynote flowcharts. In this section, you’ll learn all about Edraw.AI.
Edraw.AI is a next-generation diagramming tool. It provide you with professional charting tools. Edraw.AI uses the best and the latest AI technology to make your flowcharting much easier.
Aside from this, Edraw.AI also offers hundreds of templates that you can use to jumpstart your flowcharting process. You can easily customize them afterward using the tool’s comprehensive toolset. It’s a fun and easy experience to create flowcharts in Edraw.AI, especially with its real-time collaboration capabilities that allow you to work with a team.
Method 1: Use AI To Generate a Flowchart
As mentioned, Edraw.AI offers AI generation capabilities, and yes, that feature allows you to generate flowcharts. With a simple prompt, you can already have your flowchart.
To do that, follow the steps below:
Step 1
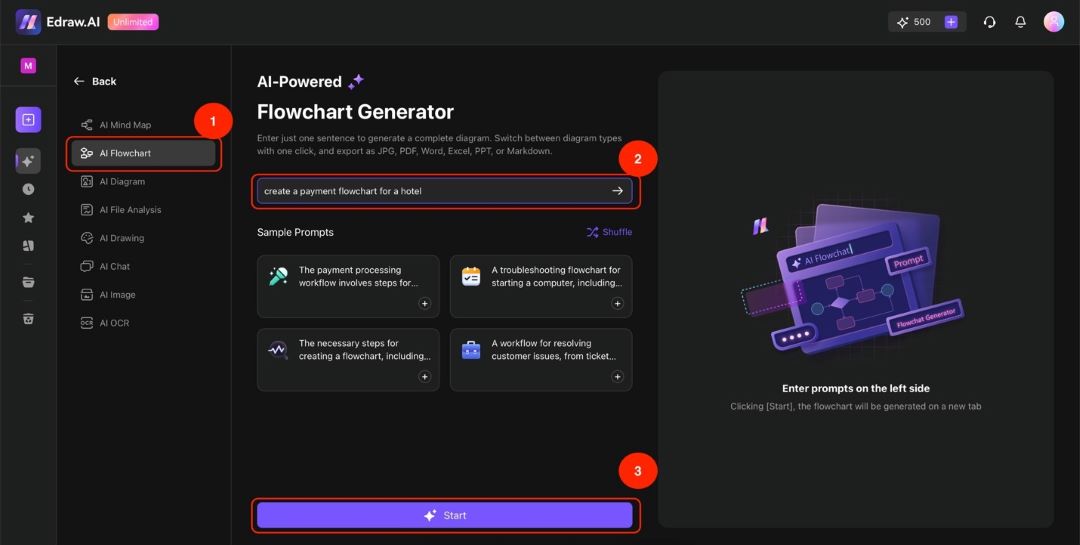
On the homepage, click AI Flowchart.

Step 2
Under AI Flowchart, type your prompt in the text box. Then, click Start.
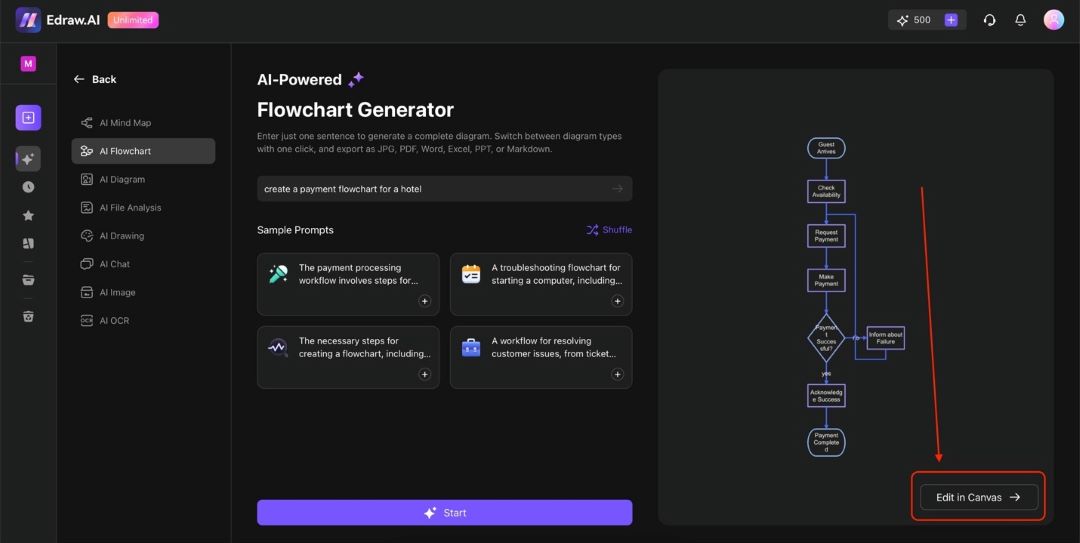
Step 3
Once the generation is finished, click Edit in Canvas.
Step 4
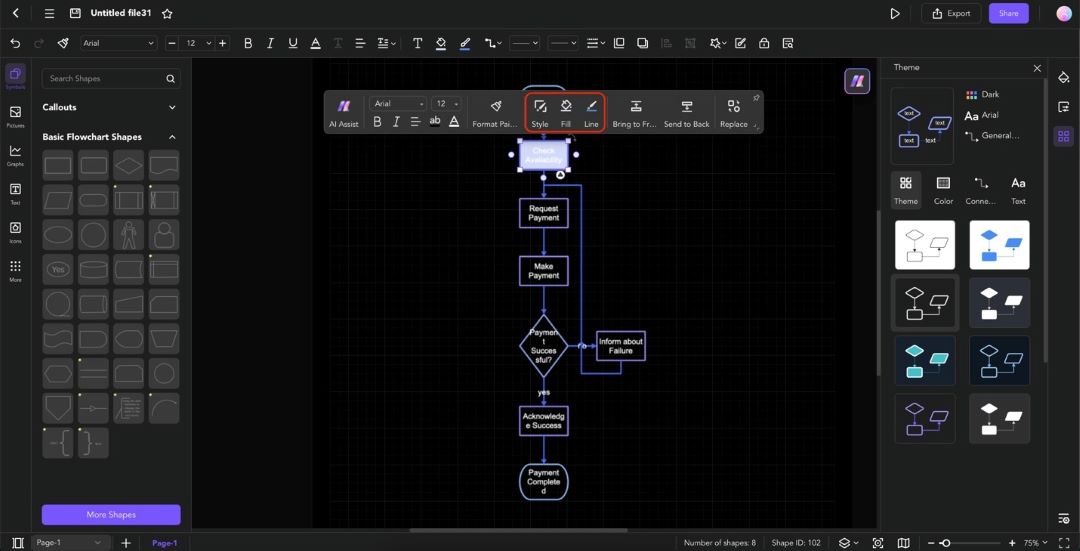
Double-click any shape/element to edit the text according to your content. Use the appearing customization bar to change font styles, sizes, or colors.
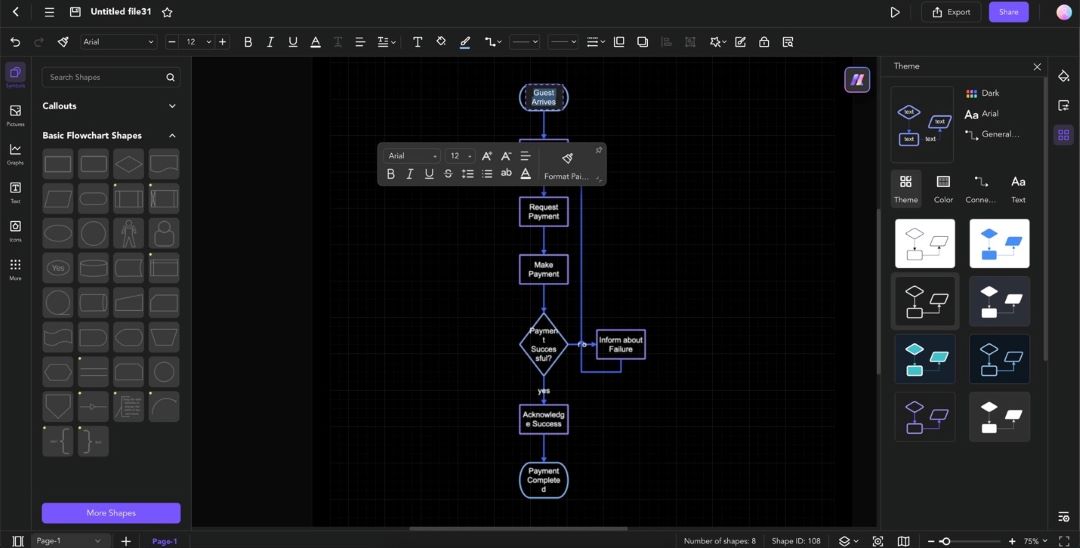
Step 5
Click any element/shape. Use the Shape, Fill, or Line menus on the floating toolbar. The Theme menu on the right panel is also a quick way to customize the flowchart.
Step 6
Add new shapes through the Symbols panel (drag-and-drop functionality). To delete shapes, click on them and hit Delete/Backspace.
Tip:
For more details, you can check the Edraw.AI Guide here: Generate a Flowchart with AI.
Method 2: Use a Flowchart Template
The second method to create a flowchart in Edraw.AI is by using templates. Follow the steps below to learn how:
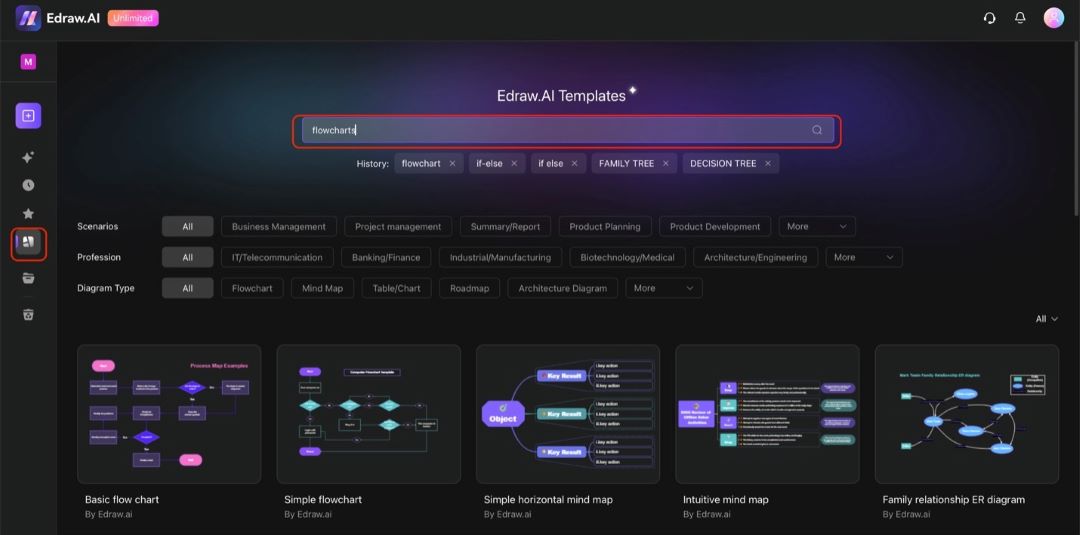
Step 1
On the homepage, go to Templates. Type in the “flowchart” keyword in the search bar.
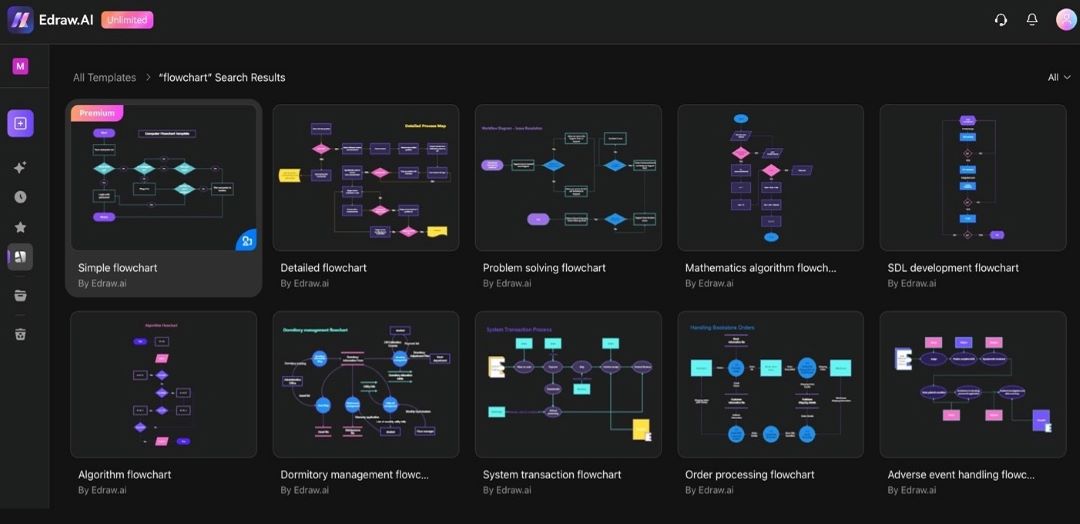
Step 2
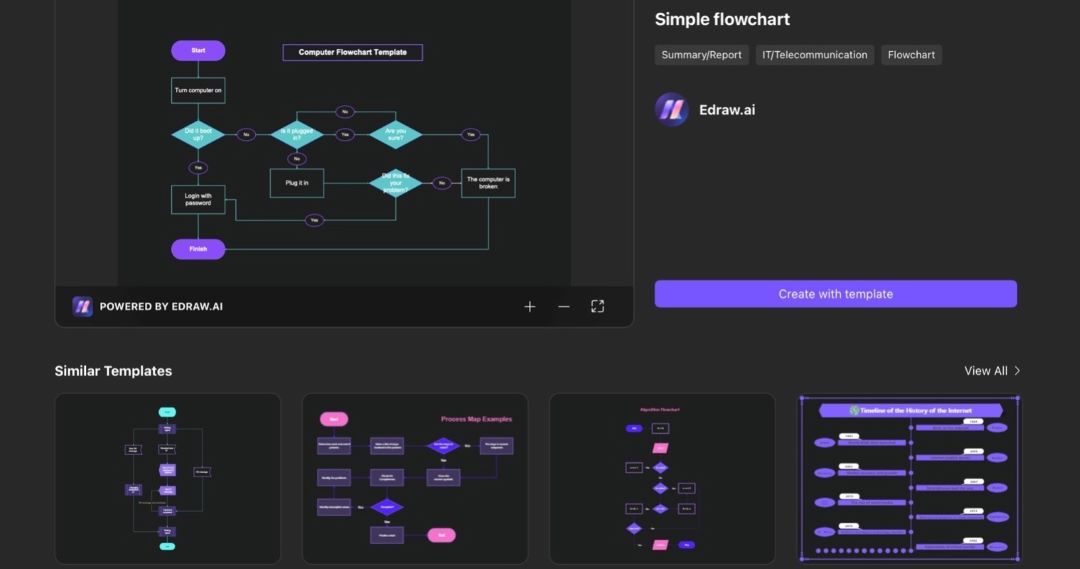
Select any template you like.
Step 3
Click Create with template on this window.
Tip:
For more details, read this guide: Create with Templates.
Start Flowcharting With Edraw.AI
Like what you saw with Edraw.AI? Its AI flowchart generation capabilities and the templates it offers make your flowcharting process quicker and easier. Add that to the tool’s comprehensive diagramming tools and features; you’ll be on your way to creating beautiful flowcharts in no time.
If you want to add your flowcharts in Keynote, don’t worry! You can always export your work from Edraw.AI as an image and add it directly to Keynote. The online tool has broad export support, so wherever you want to add your flowcharts, you can be confident that Edraw.AI will support them. So, what are you waiting for? Try out Edraw.AI today!

Prefer working locally?
Make 210 types of diagrams: flowcharts, blueprints, UML, etc
AI Mind Map, AI PPT, real-time
collaborative brainstorming