Creating a flowchart in OneNote is a simple yet effective way to organize your thoughts and visualize processes. OneNote provides basic tools to make flowcharts for work, study, or brainstorming. It can help you outline steps and simplify complex ideas.
This guide will show you how to make a flowchart in OneNote using built-in features like shapes, text, and drawing tools. You’ll also get to know a faster alternative, Edraw.AI, for creating professional flowcharts with ease.
Keep reading to explore the steps to make your flowchart efficiently in OneNote!
In this article
Method 1: Create a Flowchart in OneNote Using Shapes and Arrows
Using shapes and arrows is the easiest way to make a basic flowchart in OneNote. Here are the steps:
Step 1
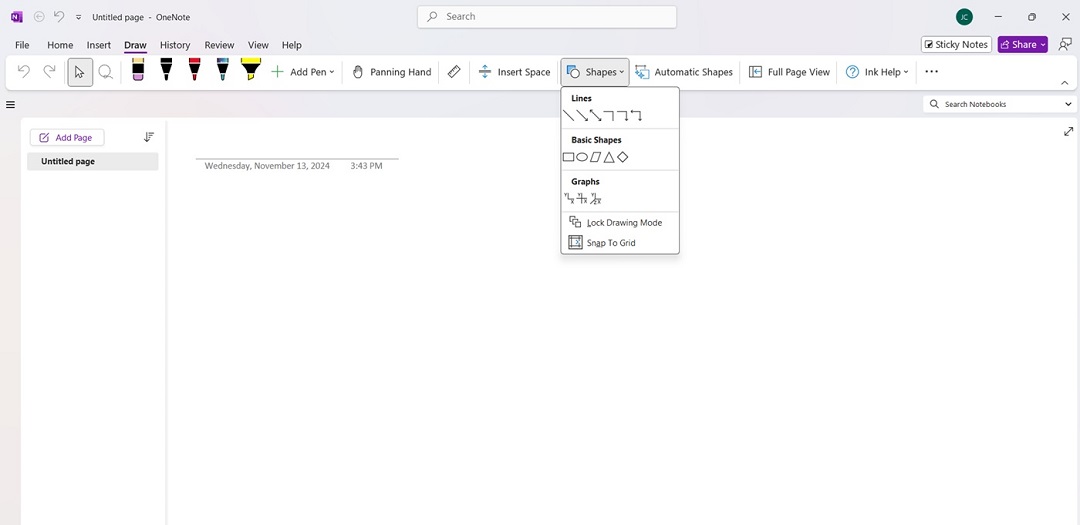
Open OneNote and start a new page. Click the Draw tab at the top to access shapes like rectangles, ovals, and arrows.
Step 2
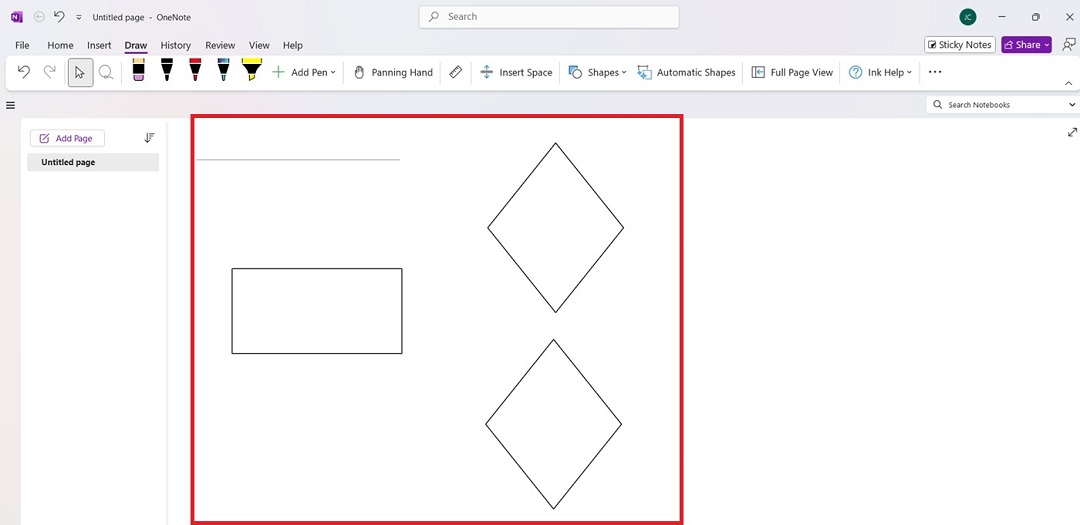
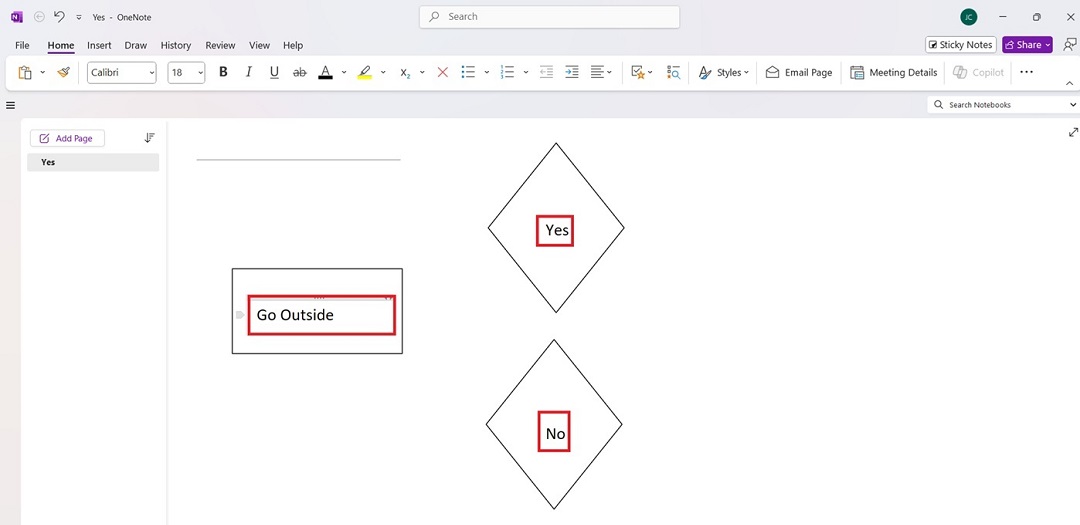
Choose a shape, such as a rectangle for a process or a diamond for a decision, and place it on the page.
Step 3
Click inside each shape to type a label describing the step. Next, use arrows to connect shapes, showing the direction or flow of the process.
Step 4
Continue adding shapes and arrows to finish your flowchart. When you’re done, save your work.
Method 2: Drawing Freehand With the Pen Tool
If you want a more creative or custom look, try drawing freehand. Follow the steps below:
Step 1
Draw Shapes Freehand
Go to the Draw tab and choose a pen or highlighter tool. Use the pen tool to draw shapes like rectangles and diamonds for different steps and decisions.
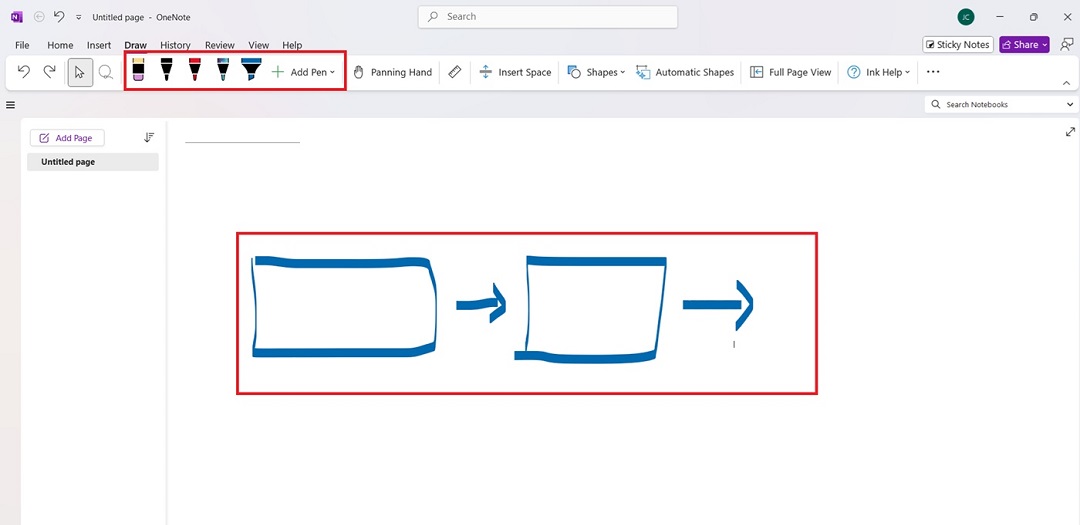
Step 2
Manually draw arrows between shapes to show the process flow, then write labels next to each shape for clear identification.
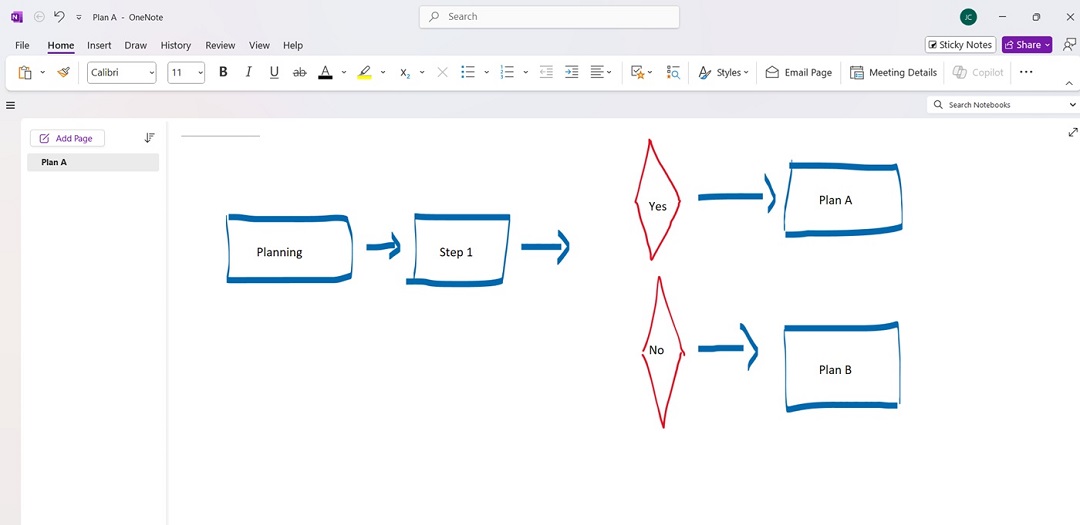
Step 3
Change the pen color to differentiate various parts of the flowchart. Make it more appealing. When you’re done, save your work.
Create a Better Flowchart Quickly in Edraw.AI
If you’re looking for a faster and more professional way to create a flowchart, Edraw.AI is an excellent choice. It’s an online visual collaboration tool with over 40 AI-powered features. It’s easy to create detailed diagrams in minutes.
Whether starting from scratch or using a template, Edraw.AI offers intuitive options that simplify the flowchart-making process. Here are two methods to make your flowchart using Edraw.AI.
Method 1: Creating a Flowchart Using a Template
Using a template is the quickest way to start if you’re new to creating. To save time, follow the steps below:
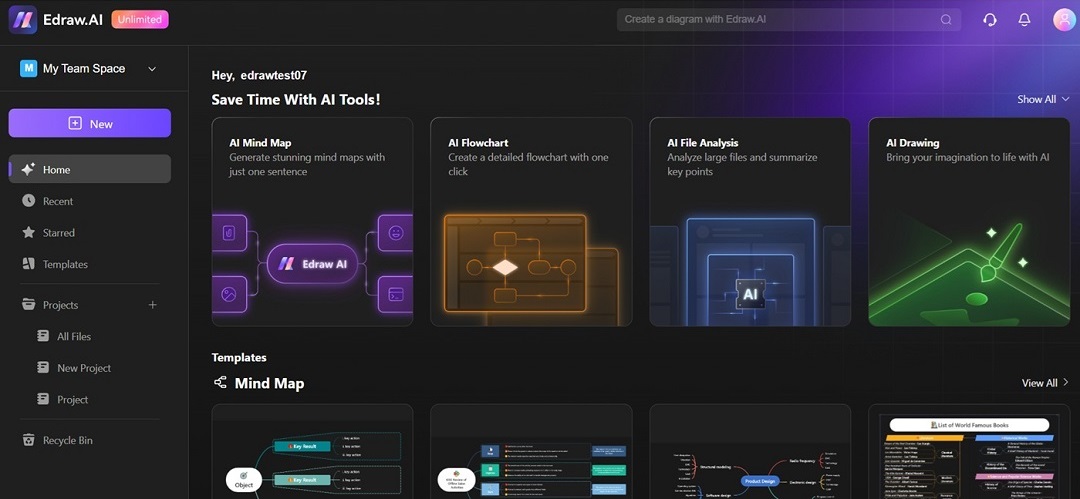
Step 1
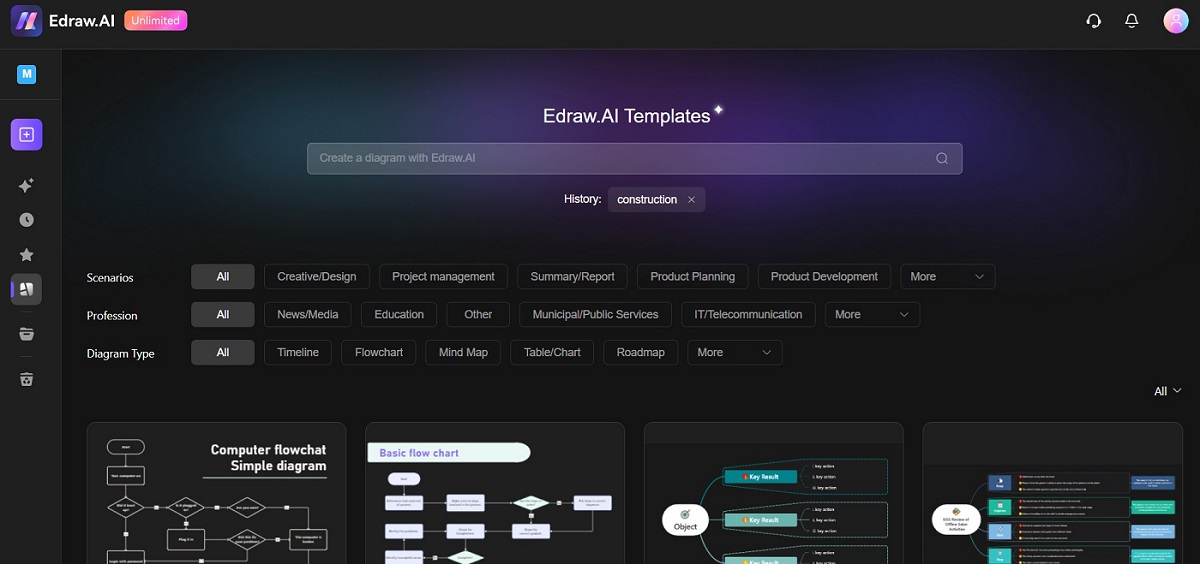
Open Edraw.AI in your browser and log in to your account. If you don’t have one, sign up for free. From the main window, click Templates.
Step 2
Use the search bar to look for flowchart templates. Alternatively, click Flowchart under Diagram Type to find various ready-made templates.
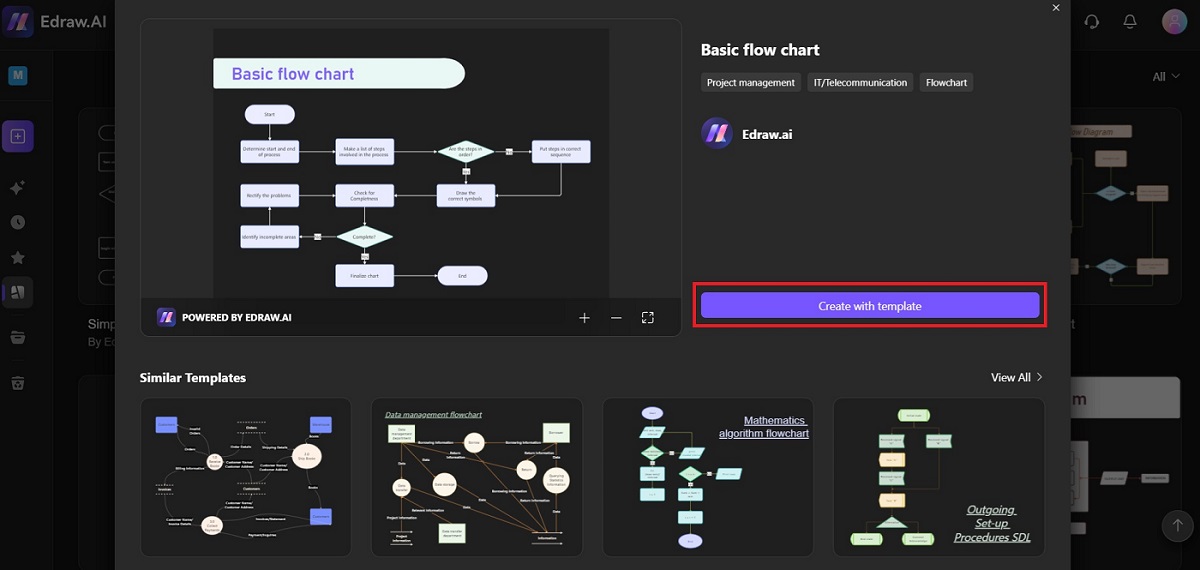
Step 3
Click Create with template to open it. Wait for Edraw.AI to transport the template to the editing interface.
Step 4
Add and Edit Elements in the Flowchart
If needed, add extra shapes, arrows, or icons from the toolbar on the left. Drag and drop the elements into the diagram area. Edit the labels based on your workflow.
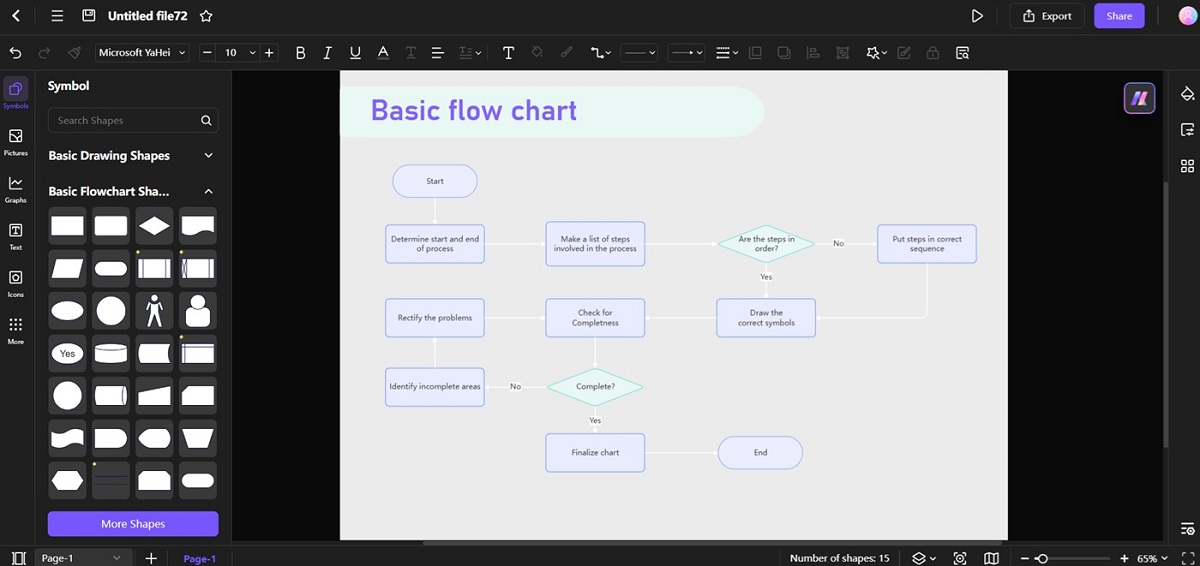
Step 5
Once you’re satisfied with your flowchart, save it. Then, click Export or Share.
Method 2: Building a Flowchart From Scratch
If you want full control over the design, creating a flowchart from scratch is a great option. Here are the steps:
Step 1
On the Edraw.AI homepage, click New and choose New Diagram.

Step 2
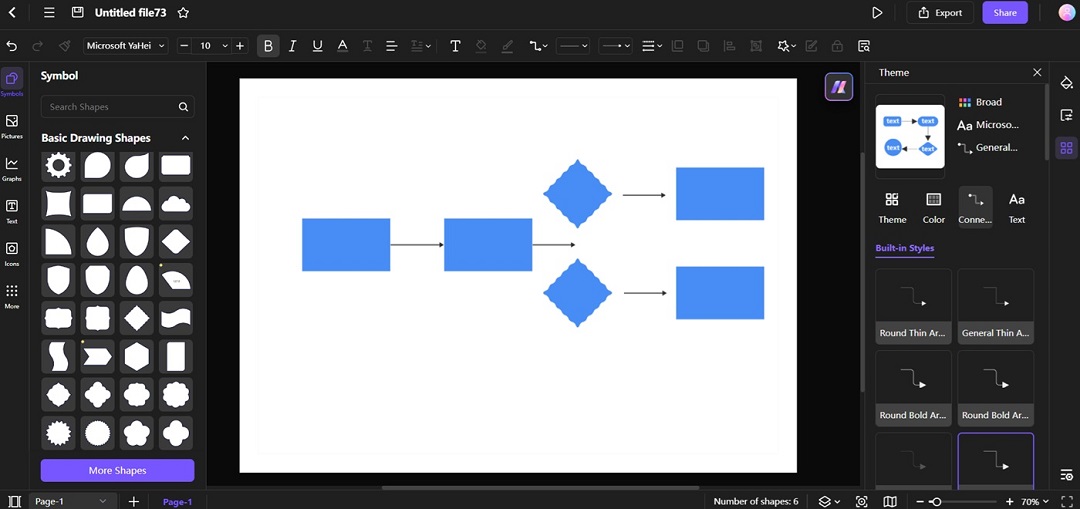
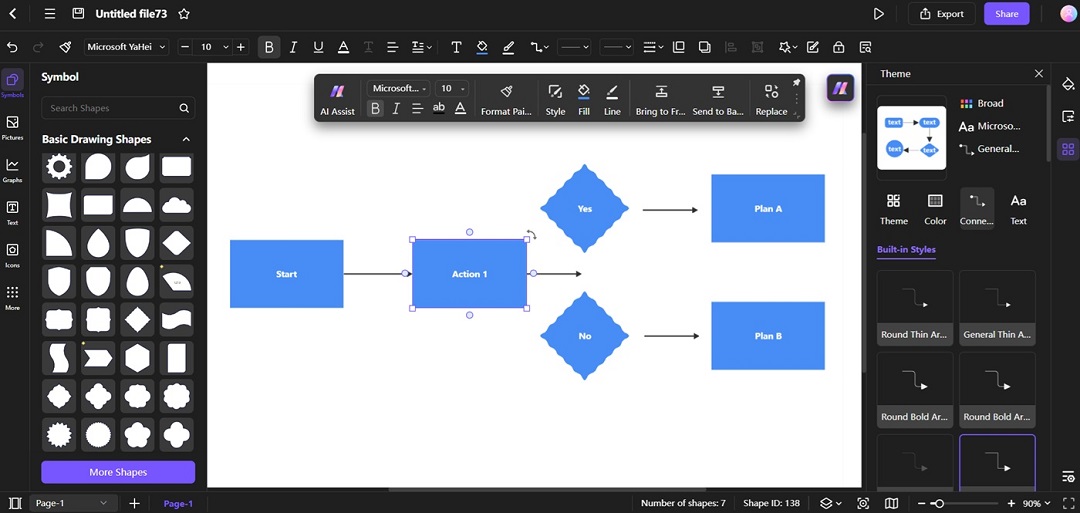
From the left-hand toolbar, drag shapes like rectangles, ovals, and diamonds onto the canvas. Use connectors to link these shapes, representing the process flow.
Step 3
Click each shape to add text labels. This helps identify each step or decision in your process.
Step 4
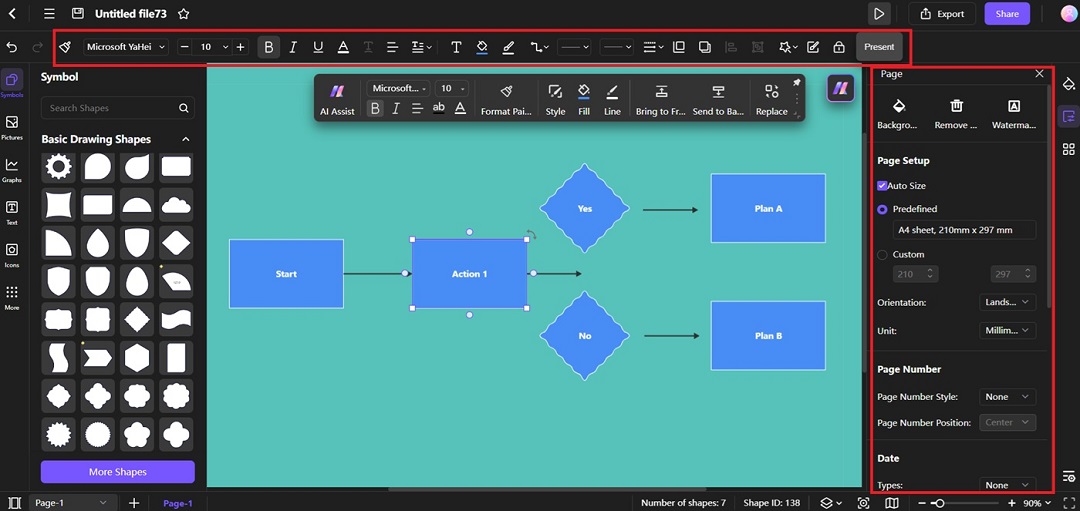
Change colors, line styles, and fonts using the top and right panels. You can adjust the layout with a simple drag-and-drop to keep everything organized.
Step 5
Export or Share Your Flowchart
Click Export or Share once your flowchart is complete. Share it with others via a link or export it in different formats like PNG, JPEG, PDF, or even Excel.
Tips for Making Flowcharts in OneNote
Creating a clear and effective flowchart in OneNote can be simple with the right approach. Here are some helpful tips:
- Use shapes consistently: Stick to specific shapes for different purposes, like rectangles for processes and diamonds for decisions. Consistent use helps your audience understand the flowchart quickly.
- Use the Draw tab for precise arrows: Use the Draw tab to create arrows that link shapes smoothly. Make your flowchart look neat and organized. Hold down the Shift key while drawing lines to ensure they are straight.
- Group related steps together: Use space by grouping related steps close to each other. This makes your flowchart easier to read and reduces clutter. Use OneNote’s Select Objects tool to move many items at once.
- Add colors for clarity: Use different colors to highlight key steps or decision points. For example, you can use red for critical steps and green for regular processes. It helps differentiate and emphasize specific parts of your flowchart.
- Use the Table feature for structure: If your flowchart involves many sequential steps, use the Insert Table feature to keep everything aligned. Tables can act as a grid to maintain consistent spacing between elements.
These tips can help you create a clear, professional-looking flowchart in OneNote with minimal effort.
Conclusion
Creating a flowchart in OneNote is a great way to organize your ideas and visualize processes. With its drawing tools and shape features, you can easily make a basic flowchart for work, study, or brainstorming.
For a more polished and quicker option, Edraw.AI makes it easier to create professional flowcharts. Whether you choose OneNote or Edraw.AI, both tools can help you map out your processes effectively. Give them a try and see which works best for you!

Prefer working locally?
Make 210 types of diagrams: flowcharts, blueprints, UML, etc
AI Mind Map, AI PPT, real-time
collaborative brainstorming